Author Topic: my first bow - black walnut  (Read 9111 times)

0 Members and 1 Guest are viewing this topic.

Offline tanner

  • Member
  • Posts: 94
Re: my first bow - black walnut
« Reply #15 on: August 16, 2012, 02:51:08 pm »
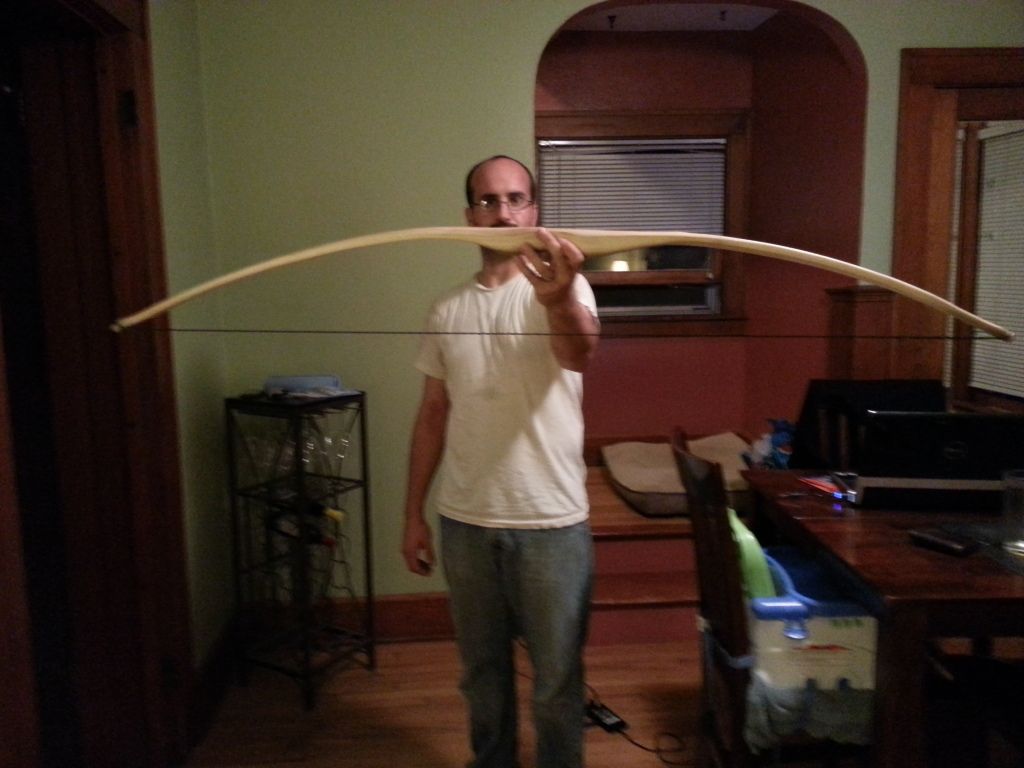
Ok - long time/no update on this one, but I did pick it back up and have been slowly finishing it off. I had to take some timeout to build a tillering tree, cut up some staves for my next bows, etc. Here's a pic of where I'm at in tillering:


Since the last time I posted, I've gotten the limb width down to final dimensions though they may be a bit wide at the tips. I did some floor tillering and a small bit of long-string tillering on my newly-built tillering tree, but felt I was ready to move on so I tried getting the bow to low brace with a string I had just recently made (my first one - flemmish twist). I cut in the string nocks and tied a timber hitch in the lower-end of the string (didn't want to finish the string off since I was going to tiller with it first). I had to spend a little time adjusting the nocks since I used a round file and apparently didn't get them deep enough - the string kept slipping out when I'd go to string it which leads me to question #1:

Is using a round-file a mistake for cutting in the string nocks? I suspect I just wasn't getting them deep enough, but I am also wondering if the rounded shoulder in the depth of the nock is more likely to cause problems.

Once I had the string nock issue worked out I moved on to my next problem - the timber hitch. I was able to get my bow strung to low brace without too much of a problem after some trial and error with where to tie the timber hitch on the lower-limb side of the string. However, the problem I ran into was that no matter how many times I tied it the timber hitch would eventually slip (sometimes right away - sometimes after a few pulls of the string exercising the limbs) which would take it out of low brace. I finally took to some artistic license in making the knot and got one that stuck. the problem I had then was that it wasn't slipping at all and I found that the string length I was using with the unstable knot was too short and I didn't realize it (due to the slipping knot). The result was a 5 or 6 in brace before the bow was likely ready. The good news is that it didn't explode, but it did take on a little bit of set (looks like 1'' or so). Anyway, a little more tillering and I quit about the time I took the picture above. There's a little bit of twist i need to work out in addition to some hinging in the lower limb at the fades. I also need to get the tiller generally evened out, but it's going much faster than I expected. I'll keep updating, but I'm really hoping to have it flinging arrows tonight assuming it doesn't blow up on me. Thanks!

Offline TRACY

  • Member
  • Posts: 4,523
Re: my first bow - black walnut
« Reply #16 on: August 16, 2012, 10:16:06 pm »
Looks like it's taking shape to harvest some meat! A lot better than my first.

Tracy
It is what it is - make the most of it!    PN500956

Offline Pappy

  • Global Moderator
  • Member
  • Posts: 31,875
  • if you have to ask you wouldn't understand ,Tenn.
Re: my first bow - black walnut
« Reply #17 on: August 17, 2012, 07:50:22 am »
Looking good so far,I use a 5/32 chain saw file and file them in about file deep,never had a problem with that. I use fine sand paper to get the sharp edges off so it won't cut the string. :) On the timber hitch,be sure to pull the tag end around to the back side of the bow and it won't slip,I use it all the time with just 2 loop troughs,I see people tie it but don't pull the loose end to the back of the bow and it will always slip.  :) :)
   Pappy
Clarksville,Tennessee
TwinOaks Bowhunters
Life is Good

Offline tanner

  • Member
  • Posts: 94
Re: my first bow - black walnut
« Reply #18 on: August 17, 2012, 09:30:39 pm »
Thanks Tracy - I'm just going for functional but I'd be thrilled if it turns out hunting-worthy.

Pappy - solid advice as always. Thanks man!

Offline tanner

  • Member
  • Posts: 94
Re: my first bow - black walnut
« Reply #19 on: August 18, 2012, 03:56:42 pm »
Annnnnd crack!

I tillered for quite awhile last night late and felt like I was close enough to draw length to go ahead and put the final string on it and reduce weight just a little more. I finished my string and braced it this morning - the string was just a hair short (1/4''?) but I thought maybe it was ok. I rasped the belly a couple times on both sides and drew the string just a few inches for some limb-exercise when I heard the audible crack. When I looked at the back of the bow I could barely see a the little crack just south of the fade of the lower limb. I unstrung the bow and cursed a couple of times and put it back on the shelf. I went back outside to take a picture so I could post it here with my plea for help, but you can't even see it in the pictures - just barely with the naked eye. Anyway, the crack is at the crest of the curve on the back - just a couple inches south of the bottom limb fade. There are no imperfections such as knots, etc - I think it was just taking a little too much load (the outer limb was looking a touch stiff hence the scraping). Now that I've created another learning experience for myself, what are my options? Do I have to back the whole thing? Should I try a sinew wrap at the crack site? The sinew wrap would be easier since I have some artificial sinew on a spool that I got to make arrows, but I'll bow to you guys' expert opinions. :)

Thanks!

Offline tanner

  • Member
  • Posts: 94
Re: my first bow - black walnut
« Reply #20 on: August 18, 2012, 04:08:25 pm »
ok - I read a couple of threads before and after I posted (only found what's probably the answer after) and it sounds like so long as the crack is small and doesn't go to the ends it's not a problem? Or is this just with vertical cracks? I'm wondering if I could just fill it with super glue and sand it down a touch? Maybe wrap with sinew for good measure?

Offline SLIMBOB

  • Member
  • Posts: 3,759
  • Deplorable Slim
Re: my first bow - black walnut
« Reply #21 on: August 18, 2012, 05:08:48 pm »
Longitudinal cracks are OK, transverse cracks, not so much.  Worth a go on the things you mentioned.  Nothing to lose but a little time and effort even if it doesn't work.  They say that Edison discovered hundreds of ways not to make a light bulb.
Liberty, In God We Trust, E Pluribus Unum.  Distinctly American Values.

Offline DarkSoul

  • Member
  • Posts: 1,315
    • Orion Bows
Re: my first bow - black walnut
« Reply #22 on: August 21, 2012, 08:14:41 pm »
Artificial sinew is no substitute for the real animal product. It is....well....artificial. It doesn't share any of the characteristics with real sinew.  That being said, it is still a strong, plastic thread that can be used for bindings. It may not be the best looking binding, but it will work. However, a transverse crack cannot be wrapped with thread and expected to be strong. The thread will run in the same direction as the crack and will only get pulled apart as the bow is pulled.
How big is the crack? Maybe a picture doesn't work, so you can describe the crack. If it already appeared at maybe half draw, that doesn't sound good. Such cracks from overstressing should occur at the peak stress level: at full draw OR when the limbs are grossly mis-tillered. Was there a hinge where the back cracked?
Fixing transverse cracks can be difficult, if not impossible. Applying a decent backing (animal sinew, wood, bamboo) may be an option.
"Sonuit contento nervus ab arcu."
Ovid, Metamorphoses VI-286

Offline H Rhodes

  • Member
  • Posts: 2,172
Re: my first bow - black walnut
« Reply #23 on: August 22, 2012, 04:08:28 am »
  That was a great first effort.  You might salvage a shooting bow by wrapping it tightly with some B-50 and superglue, or sinew and hide glue, or a rawhide bandage......  Whatever you decide, now is a good time to embrace the learning experience and look  to your next one.

   Don't feel too bad.  I had a persimmon bow blow apart on me yesterday in spectacular fashion.    I had worked on it about three August hot days and all it got me was a knot on my head.....  I learned about overheating an overly dry stave, and overstressing a type of wood I was completely unfamiliar with....  ouch.  I think I invented some new profanity.

  I don't know if you have hickory or white oak where you are, but I have to recommend them.  Even I have been unable to break a bow from one of those staves.  Maybe go at least 66" long on your next one and my crystal ball tells me that you will be hunting with your next one.  Welcome to the addiction.  :)   
Howard
Gautier, Mississippi

Offline tanner

  • Member
  • Posts: 94
Re: my first bow - black walnut
« Reply #24 on: August 22, 2012, 04:16:03 pm »
Thanks guys - I'm a little bummed to be sure. As to the size of the crack it's pretty much invisible unless the string is on it. When it's braced it's very very slim and runs about half the width of the limb, but sits evenly in the middle (doesn't touch the edges). It doesn't look very deep (I'm wondering if it's just the top layer of wood, but that probably doesn't matter). There was a hint of a hinge early-on in the same vicinity that I had all but corrected out of the tiller. When I shortened the string a little bit it seemed to reemerge which is about the time it popped. I was routinely getting the draw to about 23'' or so just before the final string shortening (this might not be the right way to do it) so it was taking some draw at the time.

Since it sounds like my sinew wrap is not likely to pan out I'm contemplating making a wall hanger out of it rather than risk the explosion. We already know that my design was flawed from the beginning. I may let it sit for awhile and continue working on my next two that are already moving forward. Thanks for all the advice on this one guys - I'll be much smarter about my next one for sure.