Author Topic: yew holmegaard--full draw pics--tru-oil finish  (Read 29968 times)

0 Members and 1 Guest are viewing this topic.

radius

  • Guest
Re: yew holmegaard, 2nd attempt
« Reply #15 on: July 18, 2009, 12:43:22 pm »
nah, they're just there to give you something to remark about...

radius

  • Guest
Re: yew holmegaard, 2nd attempt
« Reply #16 on: July 21, 2009, 12:06:33 am »
well i've put some more time in on the thing.  Got my bandsaw back:  that speeds things up!

Today i gave the initial shape to the handle.  I've preselected an upper limb (based on a big knot just out of the fades on what is the Lower limb) and carved the handle to provide good arrow-pass in the right spot.  I'm going for a dished handle on this one, too, first time.  See how that goes.  Tell me what you think of the sapwood and how it steps down on the back.  I like it, and it makes the handle stiffer so i can get closer to center on the arrow side.  The sapwood is not the same on each end of the handle, again because of that knot.


I was careful when bandsawing the relief cuts on the handle, but still went further than i intended...i call these mistakes "INCENTIVE" for working with the rasp and scraper.


Also today i started actually floor tillering this thing, and here are a couple belly shots during tillering.  I'm just about to cut nocks on and i'll post pics of that later. 


I've had a couple of cool ideas for this bow today.  Both have to do with the tips.

One, an issue that presented itself right away:  TIP MASS.  With the knots out at the ends like this, i thought it was gonna be a turtle bow.  But i'm finding you can take those knots right down.  But i also thought of carving designs out of the sides of the tips, which would relieve mass and create a sort-of I-Beam effect.  Any ideas?

Other idea about the tip overlay.  I have a bunch of rosewood, but is the heartwood of yew strong enough that i shouldn't have to bother? 

Thanks for looking, guys

radius


radius

  • Guest
Re: yew holmegaard, 2nd attempt
« Reply #17 on: July 21, 2009, 01:45:31 am »
Okay so i floor tillered it until it bent smoothly, then hit it with a nock-to-nock string.  My desired weight on this one is +/- 60# @28.  Well i'm not far off.

With the string set so that it's braced 1.5 " from the heartwood ring which is the bow's back, it pulls to 50# at about 18".  It's not got the perfect arc yet so i'm not gonna pull it past until i eliminate possibilities for hinges to set in.

As adb will agree, the holmegaard has to maximize the working limb, since it's so short.  This means i'll be heading toward the fades as soon as possible, but i have a flat spot to take care of before i do.

Sorry, can't give tillering pics, cuz i do it all in the mirror and with a tiller stick.  Mirror for shape, stick for poundage.

radius

  • Guest
Re: yew holmegaard, 2nd attempt
« Reply #18 on: July 21, 2009, 03:35:20 am »


radius

  • Guest
Re: yew holmegaard, 2nd attempt
« Reply #19 on: July 21, 2009, 03:41:45 am »
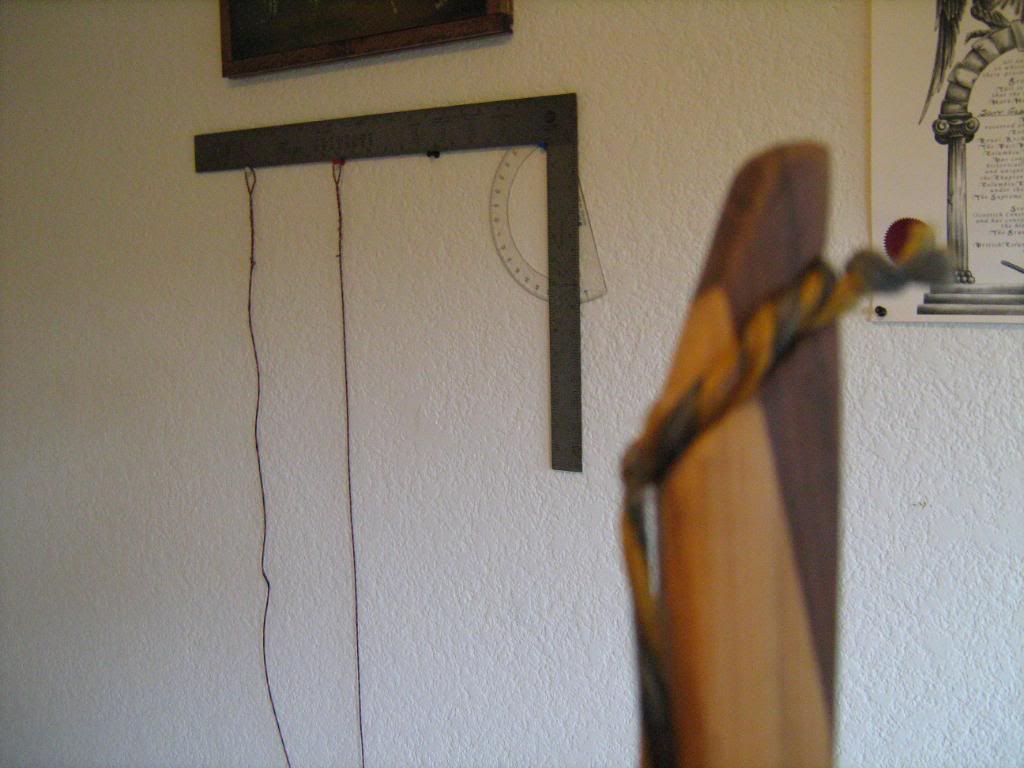
You can see a few things in the above pics.

1.  Look at the back of the handle, come down a few rings to the darkest ring...this was the one i initially mistook for the heartwood!  Good thing i kept going...

2.  The string is almost dead center despite the little twist in the limbs.  I will use this reference point to help me tiller.  Essentially, the working limbs will be parallel down their length, but obviously i missed a spot!  I can take wood off the side there to bring the string to center and thereby help tiller.

3.  I discovered how to use the rings to gauge thickness of the limb, not only down its length, but across from side to side.  I'll show a few more pics to demonstrate, but the gist is this:  if one side has more parallel growth rings running down the limb (i.e., if the edge-grain section of the flatbow limb is wider), then that side of the limb is thinner.  I have a bunch of tillering left to do, and as the forthcoming pictures will show (if they aren't too terrible), all of the wood to come off will come off the thicker side of the limb.

Notice that the limb that is showing has even grain patterns:  this limb is equal thickness both edges...but due to the twin knots that spot is a bit high and so it has to come down.
« Last Edit: July 21, 2009, 03:48:23 am by radius »

radius

  • Guest
Re: yew holmegaard, 2nd attempt
« Reply #20 on: July 21, 2009, 03:46:32 am »
This island shows that the limb is thicker here than it is in either direction.  A stiff spot.


Here's that same spot after i scraped off the pencil marks.  I scraped it quite a bit more after this!


Here is the lower limb fadeout...you can guess how much thicker it is on that side than the other, because the big knot is right there, but the rings themselves show it.  This is an awesome new thing for a board bow guy like me to discover!


I can hardly believe the thing is pulling 50# at 18" or so already.  I have to be very careful with my tillering, to hit my intended draw weight of 60# @28".  The bow does feel a little bulky, i admit it...but i'm looking forward to taking the tips down and perfecting the handle AFTER the main work is done and the limbs have been trained to bend.

Getting there!
« Last Edit: July 21, 2009, 03:50:02 am by radius »

radius

  • Guest
Re: yew holmegaard, 2nd attempt
« Reply #21 on: July 22, 2009, 03:07:45 am »
Well, everybody: tonight i turned it into a bow at last.  It pulls approximately 55# at 28".  I have no idea how it shoots.  It started with deflex and has some string follow...we'll see how it looks tomorrow.  But i don't wanna cook the belly for reflex:   too many knots.  I'm happy.  This stave was an amazing challenge and i learned alot about carving yew.  Plus, if it shoots em fast enough, this is the bow i'm taking on the hunt this year.

Here are a couple tools i used a little bit...i thought i'd use them more.


This is the upper limb.  These two knots right out of the fades actually don't interfere that much, and one of them actually gave me some INCENTIVE.


Here's a shot of the handle and the whopping brace height of what, 3"?  Fistmele for a midget.  Notice that the handle is semi-dished.  It's not yet as good as i'd like it.


Ok, here's the upper limb again, a little while later, showing the incentive.  I broke the knot with the rasp, and made a big valley right on the edge.  This gave me my next tillering idea:  trap the belly.  I went approx 1/4" face of limb, 1/8" on the edge.  This got rid of most of the chunk-out, and helped me to get it bending a little better along the whole length (well, not the whole length!)


Here's a shot with the brace height of 6".  The handle has been dished out more and is pretty comfortable.  That's my first go at a dished handle...i'll try that again. 


The back of the bow, lower limb (over that big knot).


The whole back of the handle.  I like how the sapwood pattern is different, top and bottom.


And here it is braced and hanging on the closet doors.


This stave was a huge lesson in carving, as i must have said at least 5 times already!  So many knots!  They change the shape of the back all up and down the bow, and require special attention in filing and scraping: you have to change direction all the time, and sometimes it doesn't seem to make any sense at all!  The knots are the places where the limbs are stiffest, and paradoxically they are the most difficult to file away, and i had to be careful not to remove too much wood AROUND the knots and cause hinges. 

The limbs bend pretty evenly for all their twist and knottiness.  I'm stoked.  I might file down the back a bit for finger grooves, and i will add more solid nocks.   The whole thing needs to be well sanded and burnished, and then i think i'll get some tru-oil for it...how many coats should i use?  One a day for a week and leave it at that?
« Last Edit: July 22, 2009, 10:43:19 am by radius »

Offline Michael C.

  • Member
  • Posts: 576
Re: yew holmegaard, 2nd attempt
« Reply #22 on: July 22, 2009, 09:00:38 am »
Nice, that looks good.
"Friendship makes prosperity more shining and lessens adversity by dividing and sharing it."

Cicero

radius

  • Guest
Re: yew holmegaard, 2nd attempt
« Reply #23 on: July 22, 2009, 10:13:38 am »
thank you kindly

Offline Josh

  • Member
  • Posts: 3,367
  • Silence is golden but duct tape is silver.
Re: yew holmegaard, 2nd attempt------tiller is complete
« Reply #24 on: July 22, 2009, 03:27:35 pm »
Wow turned out nice.  When do we get full draw pics?   :)  -josh
“The trouble with quotes on the Internet is you never know if they are genuine.” —Abraham Lincoln

radius

  • Guest
Re: yew holmegaard, 2nd attempt------tiller is complete
« Reply #25 on: July 22, 2009, 08:59:35 pm »
josh, u'll get it the second i get it!

maybe my roomie will take the pics...

Offline Josh

  • Member
  • Posts: 3,367
  • Silence is golden but duct tape is silver.
Re: yew holmegaard, 2nd attempt------tiller is complete
« Reply #26 on: July 23, 2009, 10:17:08 am »
Awesome.  Can't wait to see the finished bow.  Great buildalong Radius!
“The trouble with quotes on the Internet is you never know if they are genuine.” —Abraham Lincoln

radius

  • Guest
Re: yew holmegaard, 2nd attempt------tiller is complete
« Reply #27 on: July 23, 2009, 11:27:00 am »
well, i'm glad you think so...i don't know if i'm really imparting much, just sharing my experience.  Last night i glued on tip overlays.  I was going to try some elm, because its colour looked so good in relationship to the sapwood on the back of the handle.  But it was just too coarse-grained...i think it must be a ring-porous wood...i rejected it and went with rosewood.


The overlays were just barely wider (like 1/32) than the tips, so i had to be super careful about alignment during glue up.  I used a strip of tape to start, then a small spring clamp at the very end.  When that was good, i put a 2nd spring clamp at the other end of the overlay.  Then starting from the center, i added the c clamps and set the spring clamps aside.


the knots and their cracks


To take the tips down i used my drawknife, then rasp, then 4in1 rasp, then scraper and finally i put sandpaper under the overlay and sanded the tip to suit.  I "mostly" got it. 

Later on I'll make those tips look as cool as i can, and clean up the handle.  Soon it will be ready for final sand.

A couple issues:  cracks in the big knots.  I'm not sure what to do.  One of them is at the bottom tip:  it doesn't get stressed and shouldn't much matter.  But the other one is at the big knot just out of the lower limb fades.  It is a "working" crack right now:  when the bow is drawn, the crack closes up, and it releases a little when the bow is let off.  I guess i'll dribble in the superglue like they say.

A side note:

I bought the vise last weekend from a guy who also had a cool scraper/burnisher/sharpener set.  A steal of good veritas tools for 50 bucks...only i didn't have 50 on me after buying the vise, and he was running out the door to go island hopping.

I went back last night and picked up the kit.  It has a # of scrapers of different thicknesses and widths, a scraper holder, variable burnisher, chisel jig, and a honing compound.  The sharpening stones are 400, 800, and 1000.  This guy was serious.  He was once a piano tech and repairman, and when he found out i'm making bows, he ran inside and came back with a little stack of ivory strips, about 1/16 thick, 3/4 wide, and 2 " long.  He told me to soak them in warm water to make them pliable.  So for this special bow and this buildalong, i'm going to inlay an ivory arrow pass.  That will be the next step after reshaping the tips.


radius

  • Guest
Re: yew holmegaard, tiller complete, strike plate inlaid, tips overlaid
« Reply #28 on: July 24, 2009, 01:10:39 am »
First of all, never mind what i said about the ivory inlay.  haha.  But I am going to do some inlay on this bow, and i've got lots of pics of the process.  And i did find some good uses for the ivory after all. 

Okay:  the focus of today's work on this bow was twofold:  shape the tips, and inlay a strike plate. 

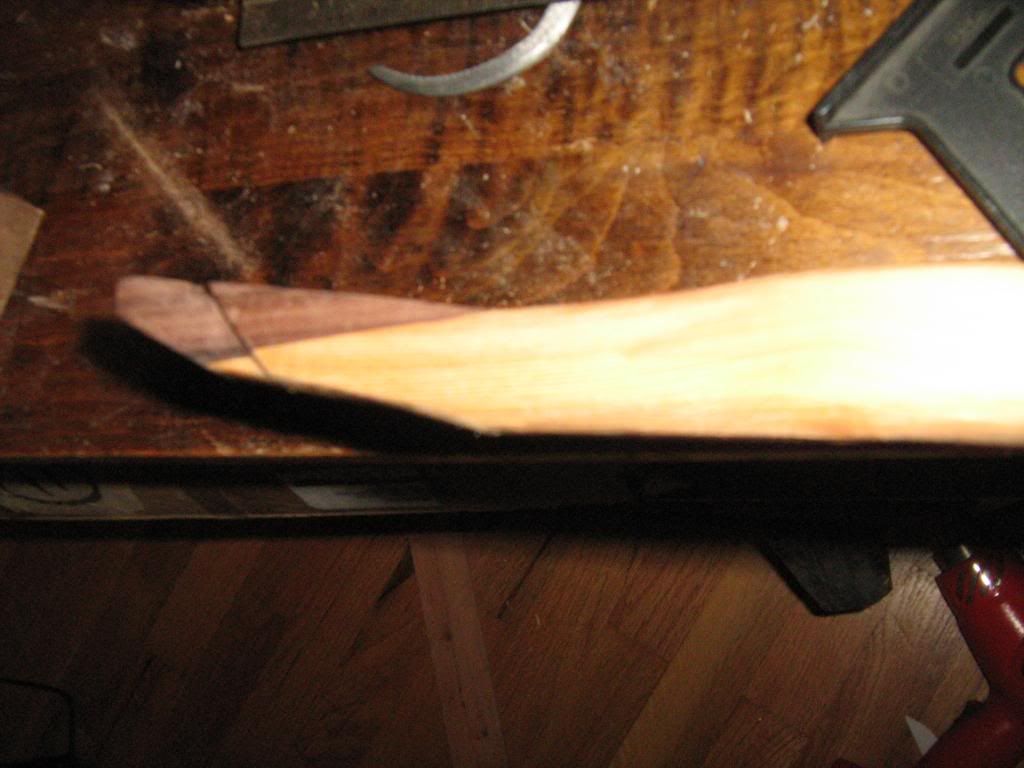
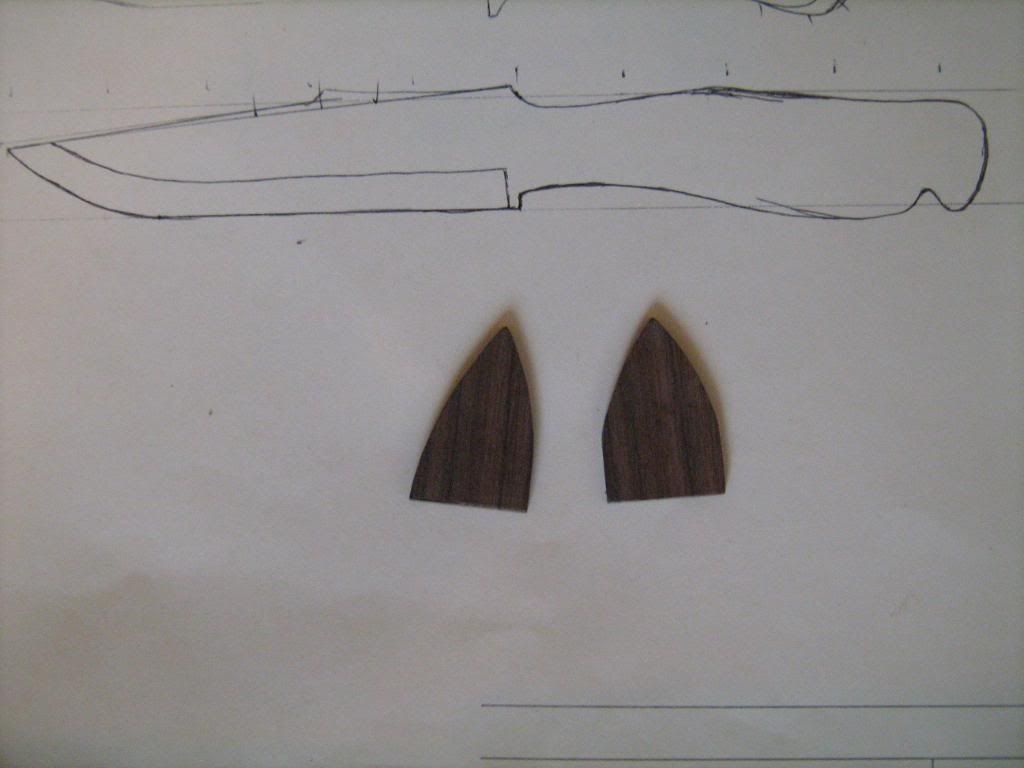
First i did the tips, since the big ugly clubs were hanging off the ends.  The two roughed-out overlay pieces have been sitting in my junk box since last year, as a solid block carved into a crude wedge.  I used the hobby bandsaw to slice up the halfway line and then cut the two pieces out.

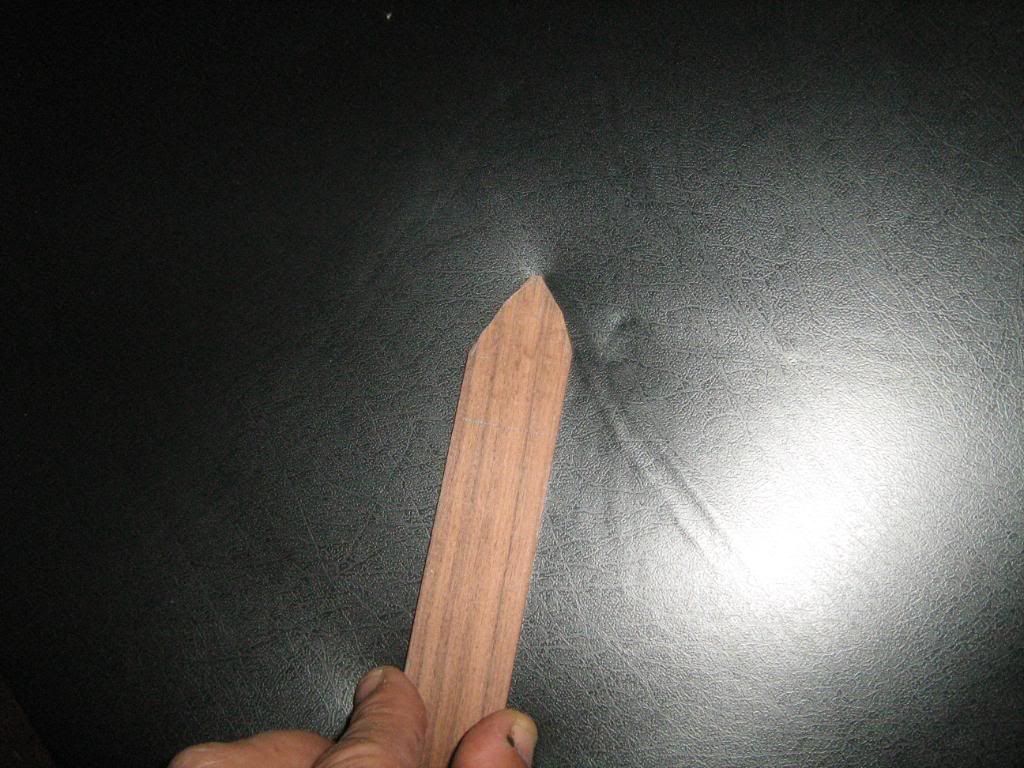
Today, i drew a line from 1/4 down the back of the tips toward the belly, bisecting where the yew and rosewood met up.
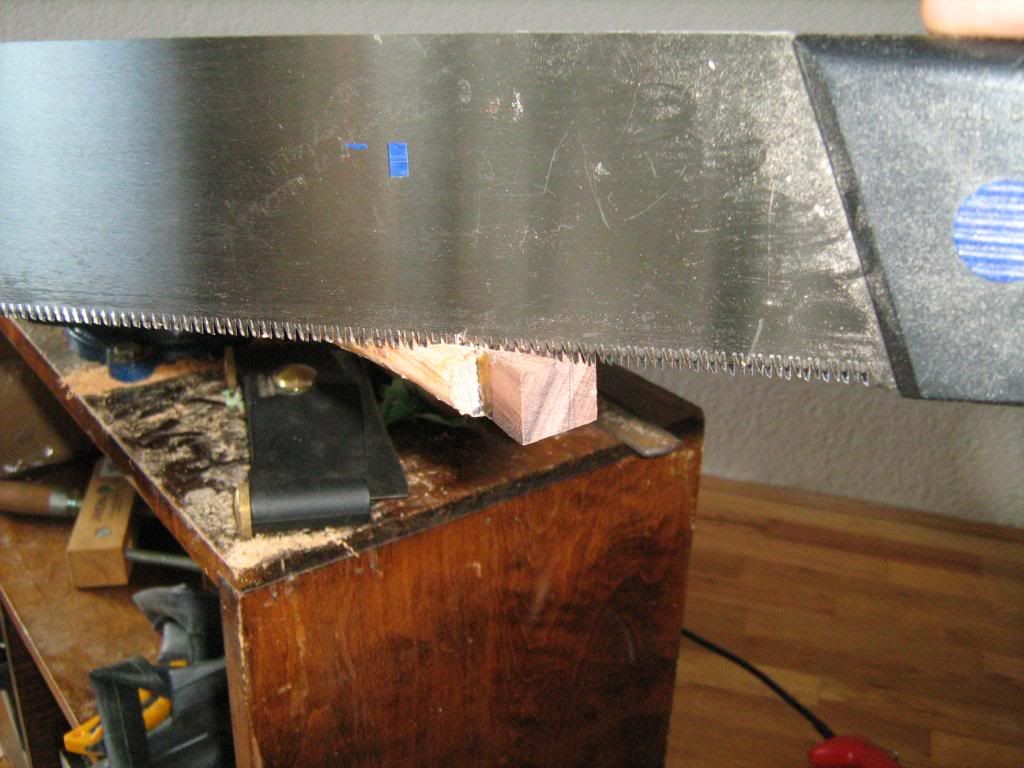
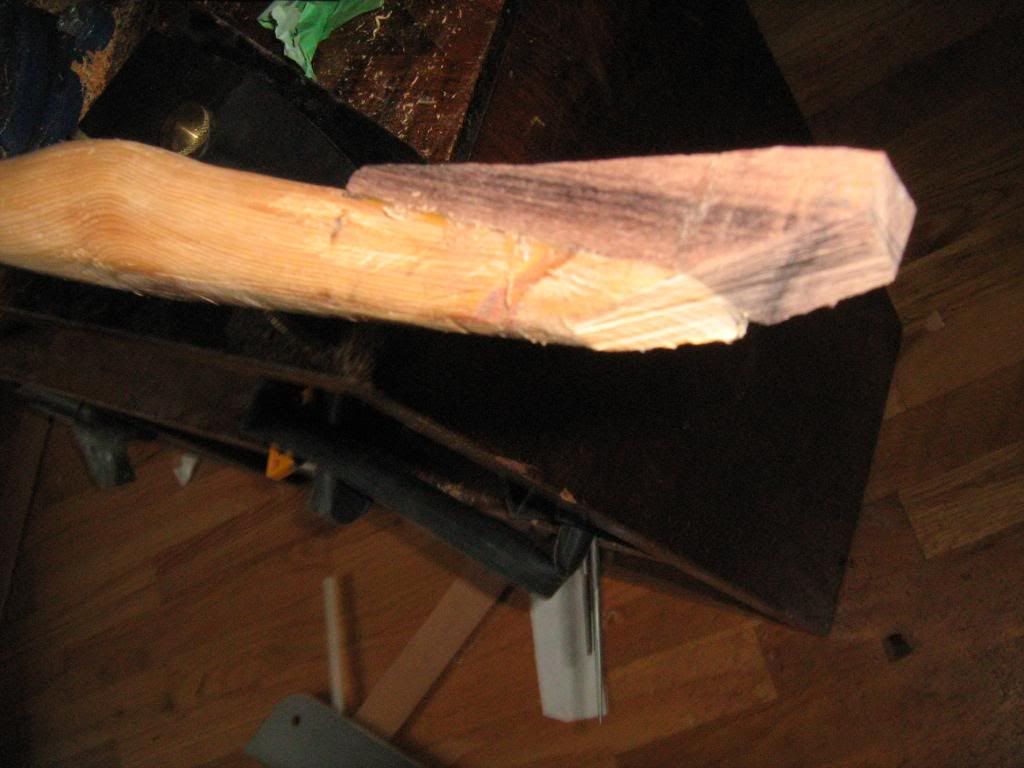


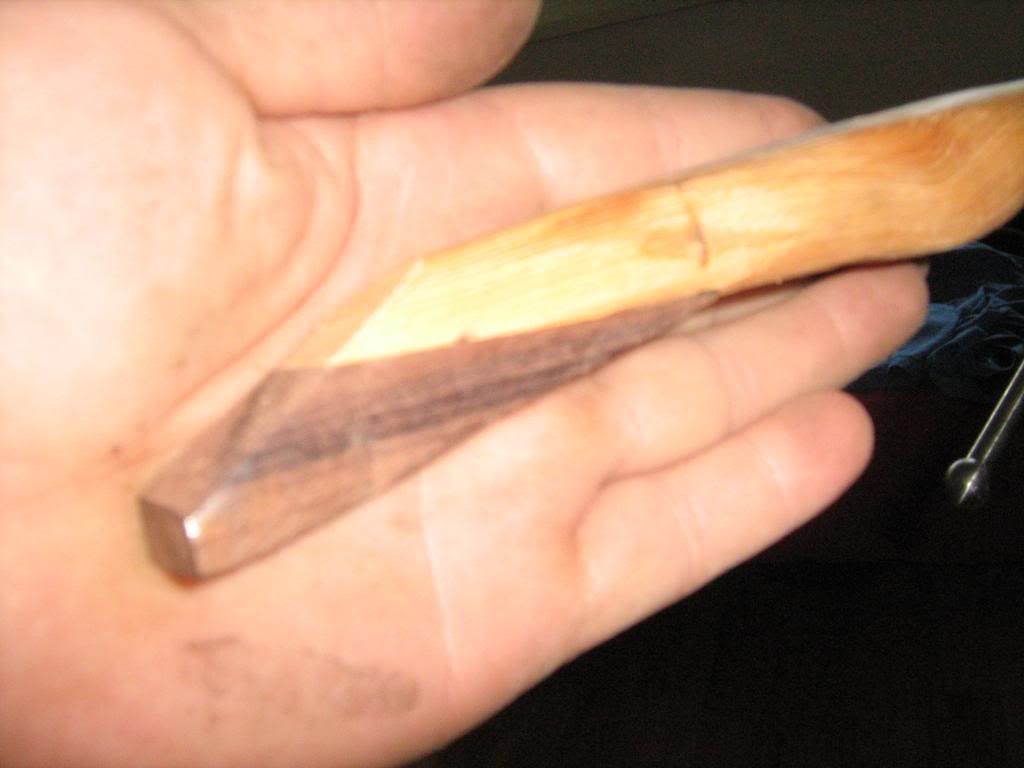
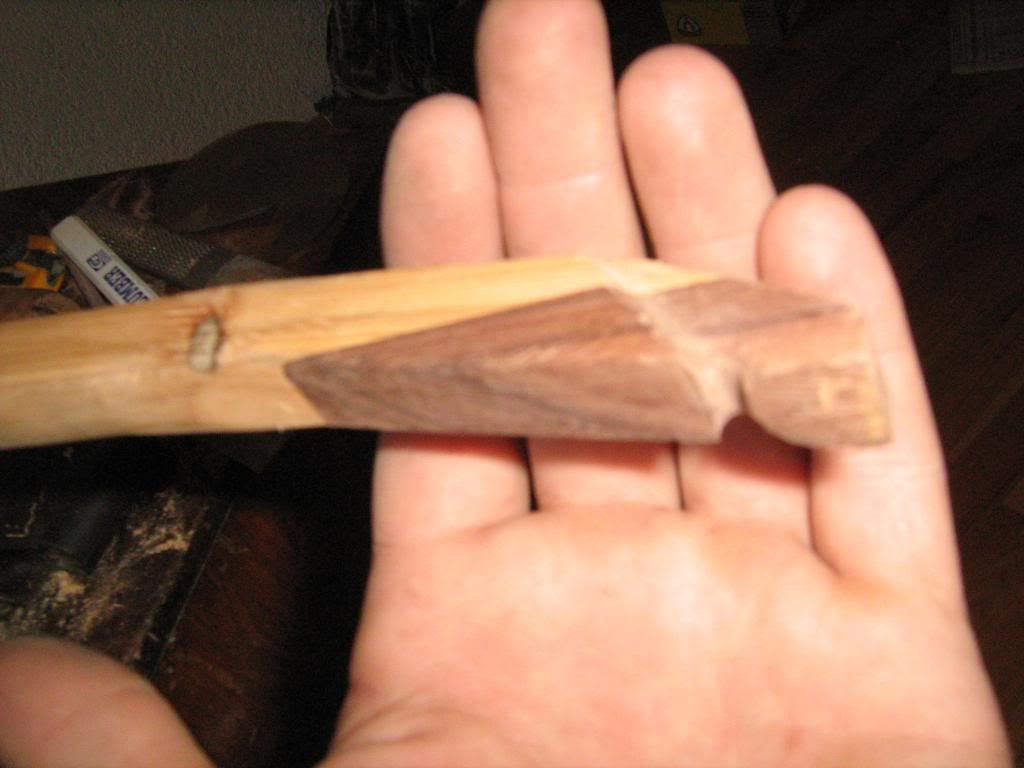
Right after this cut, without the pin nocks cut in, they looked like this.
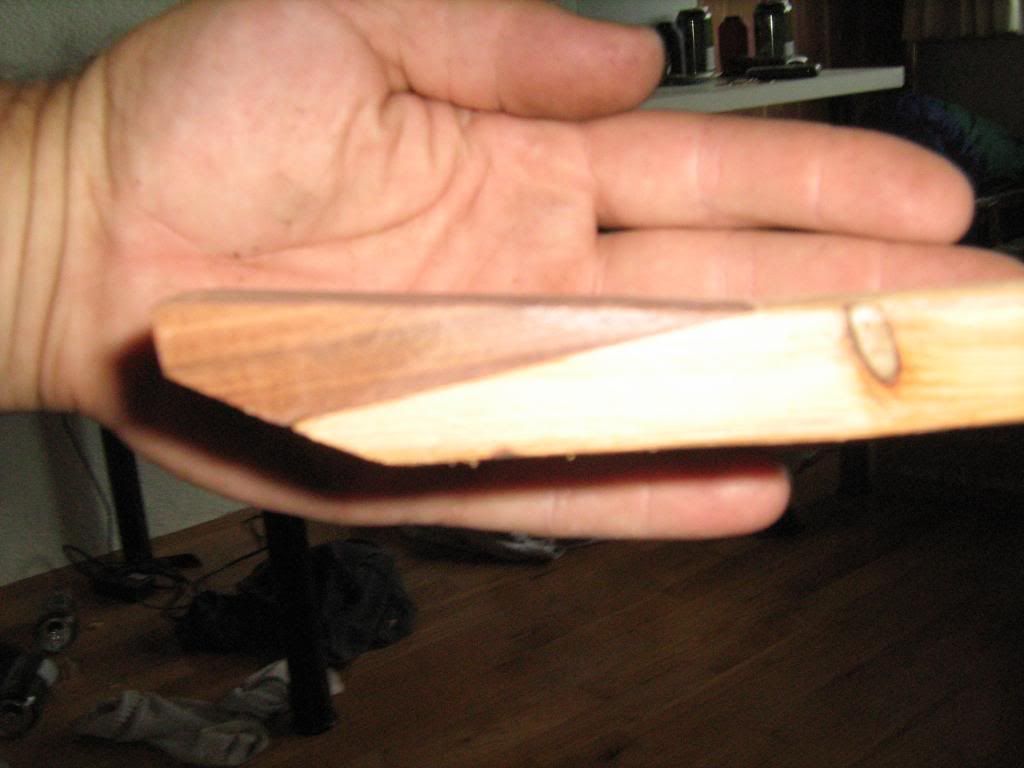


But my first attempt at the string groove was lame and so it looked like this.
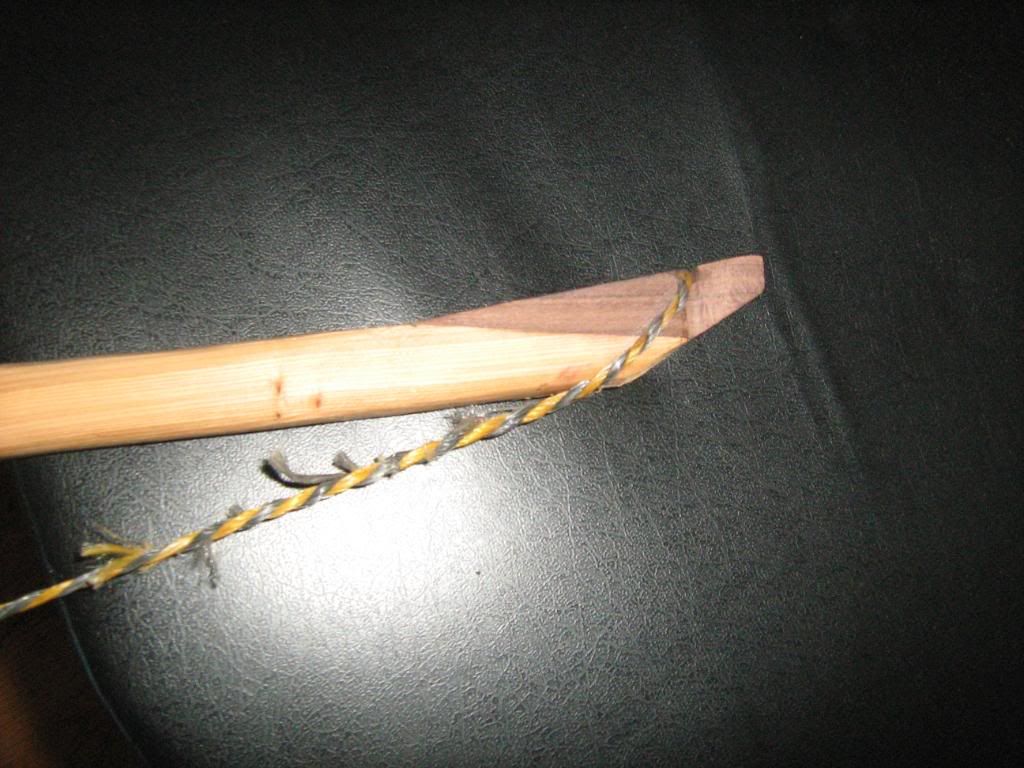


So i fixed the suckers and now they look like this.
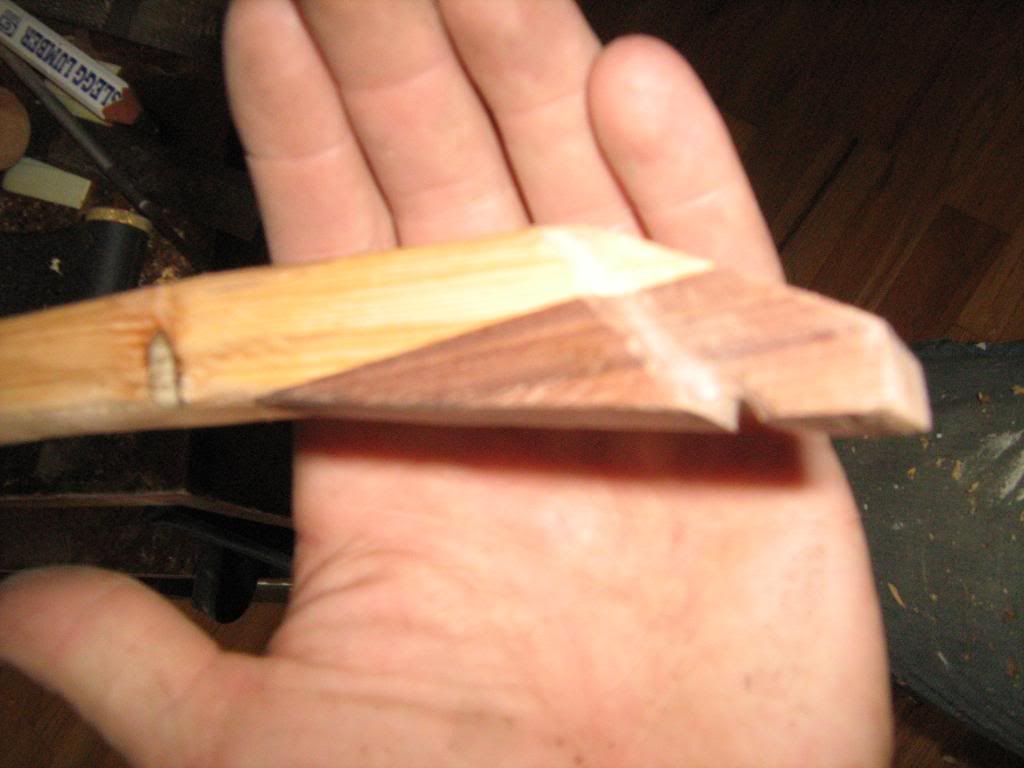


But then i thought, I've been concerned about tip mass the whole time, now the things look huge (even if they do look cool)...so i covered the belly portion with my scraper.
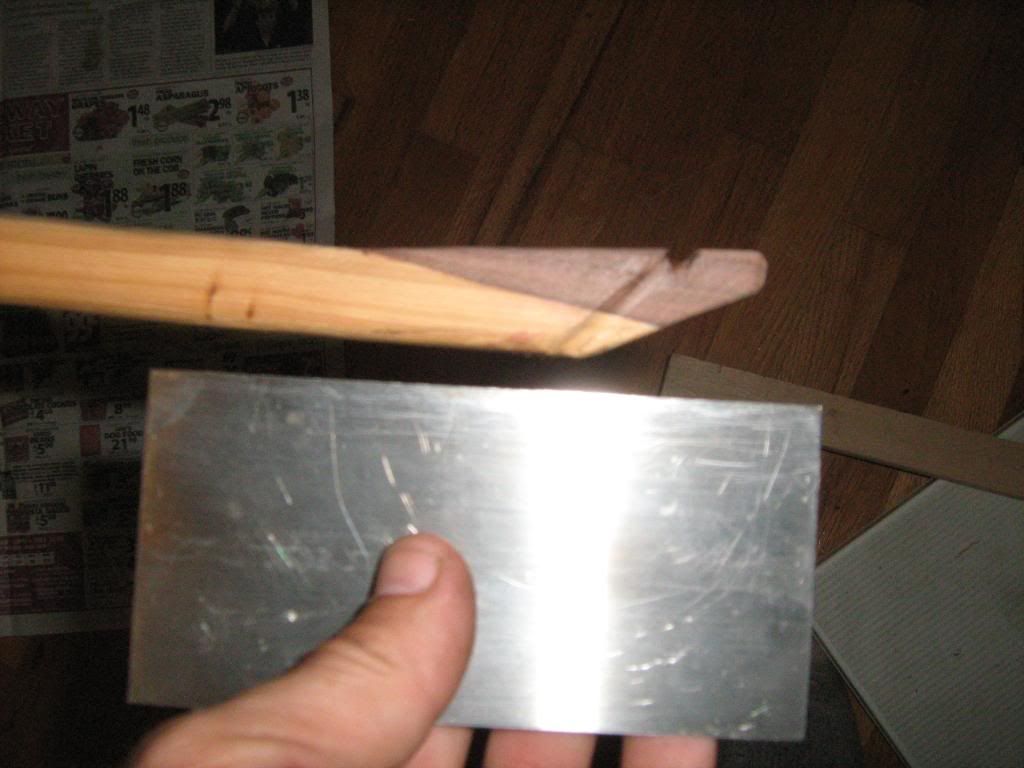
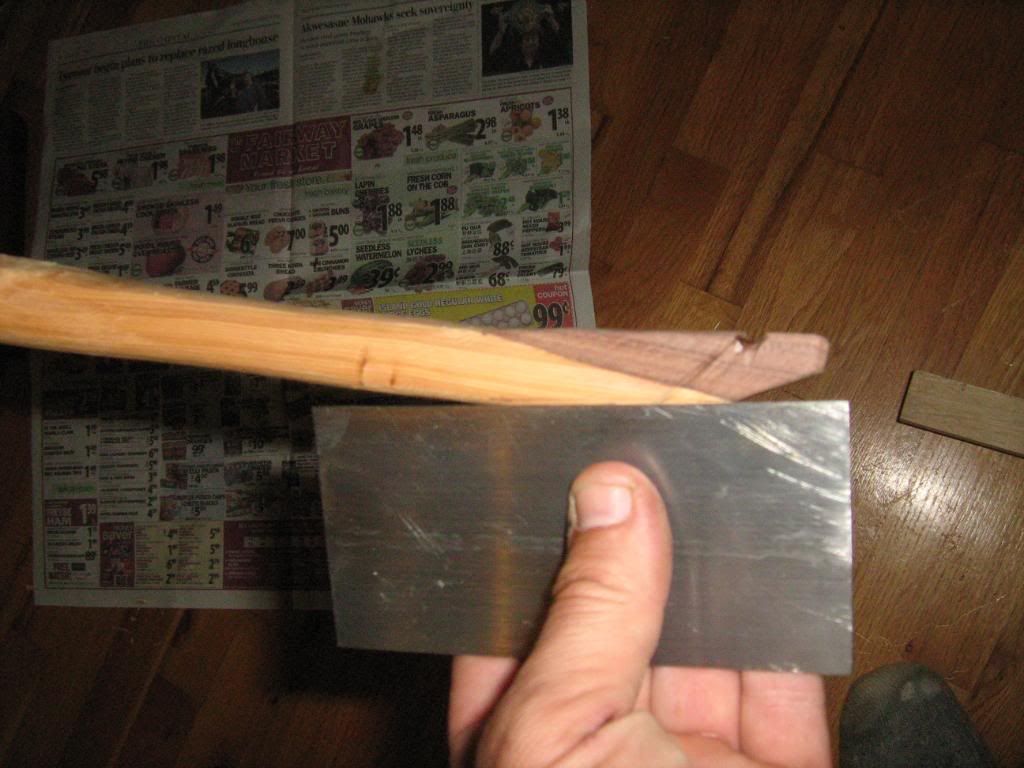


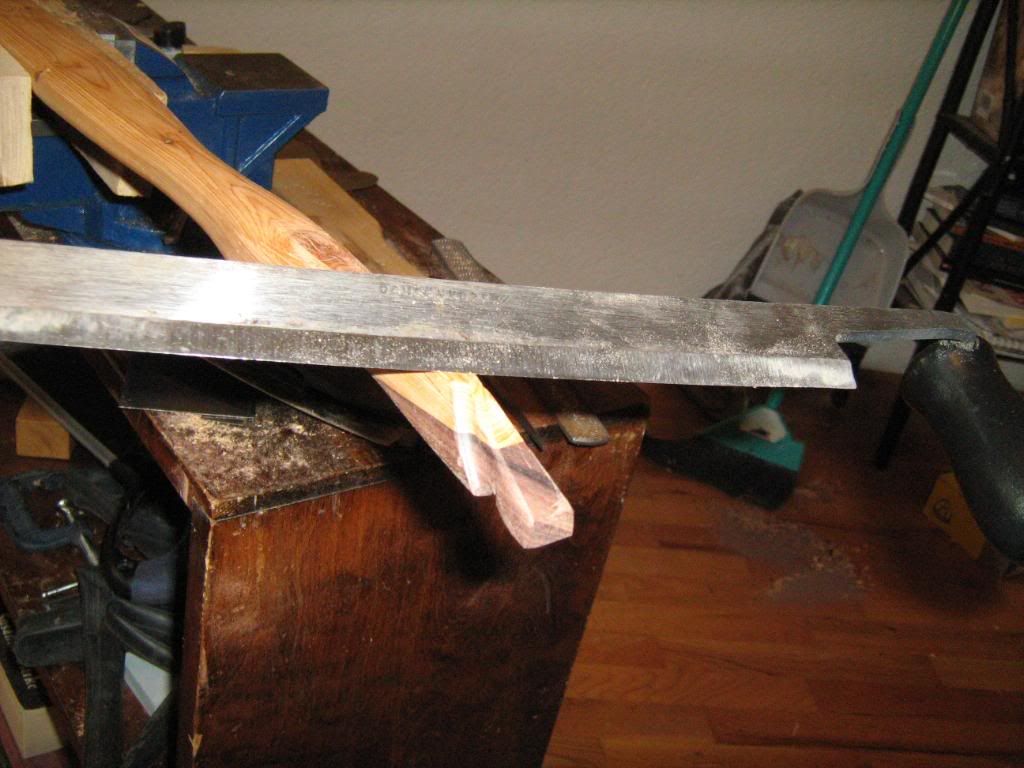
And then drew lines and cut them with a drawknife, scraper, and file.  You'll see that in these photos, one of the tips still needs work at the belly transition.


NOW, THE INLAY

I don't really know how to do this, so i just make it up as i go.  I'll show ya what i did.

Here is the piece of rosewood that i used to make some inlay options.  It is about 3/32 thick and 1 1/16 wide.
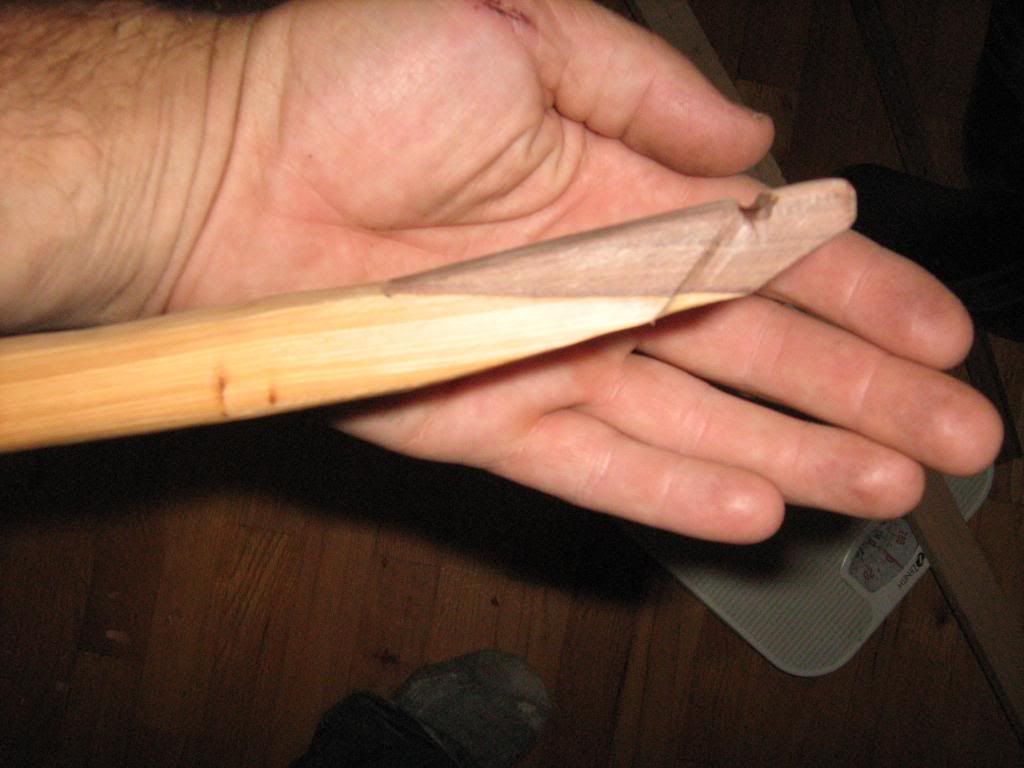


I used the edge of the gooseneck scraper to draw the arc.  I made two options:  1 was arced to the center, the other was arced to about a third of the width.  I hope that makes sense.
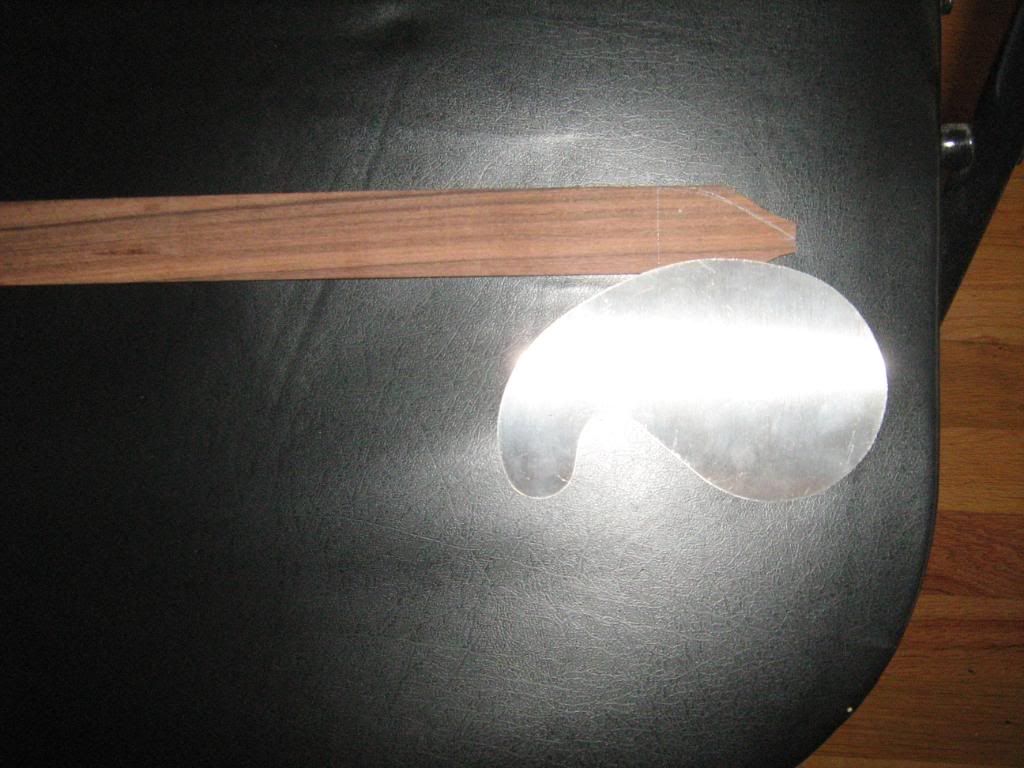


I chose the one which arcs off center. 

But it turned out to be a little wide.
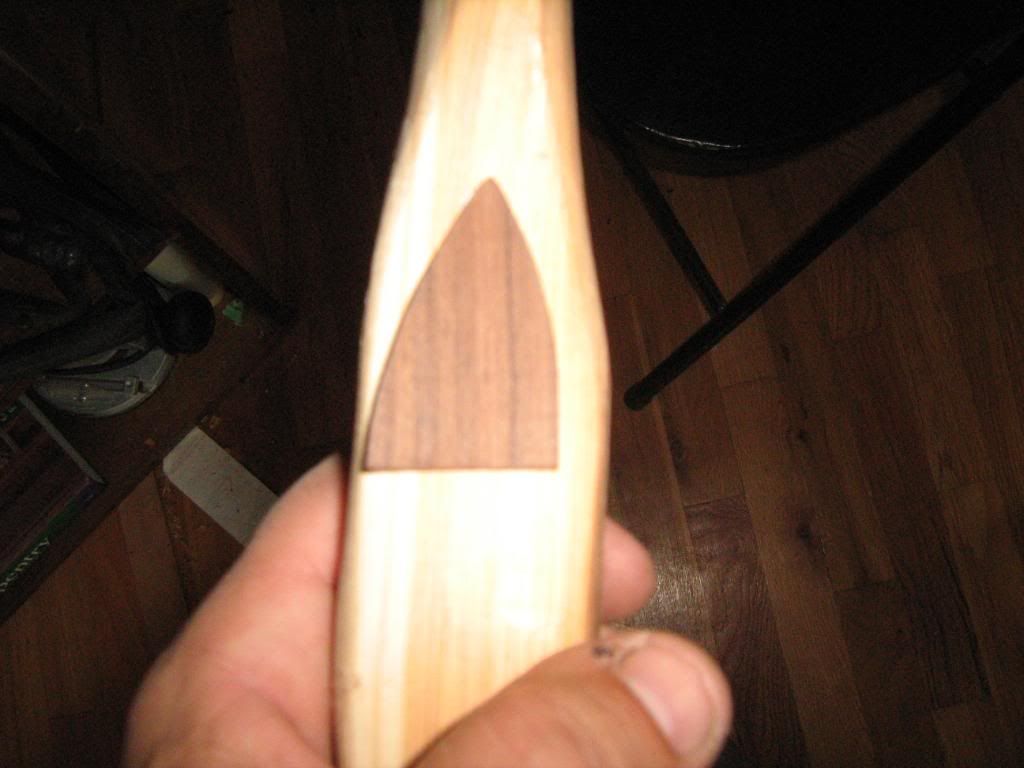


Perfect.

But...big gap.
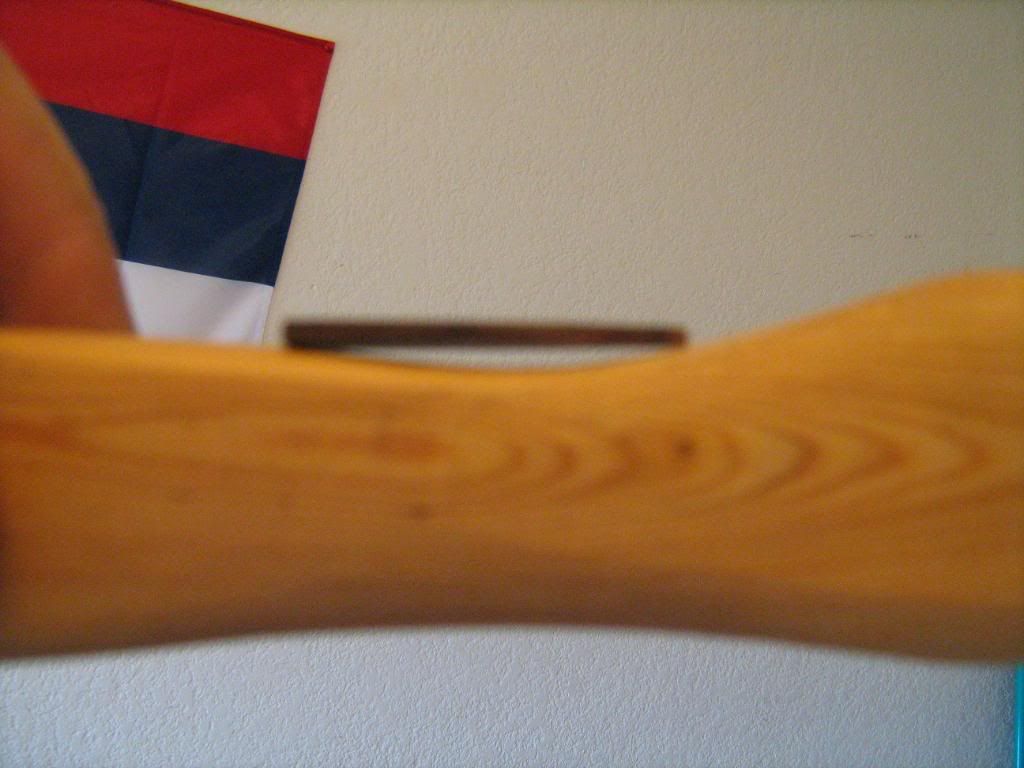


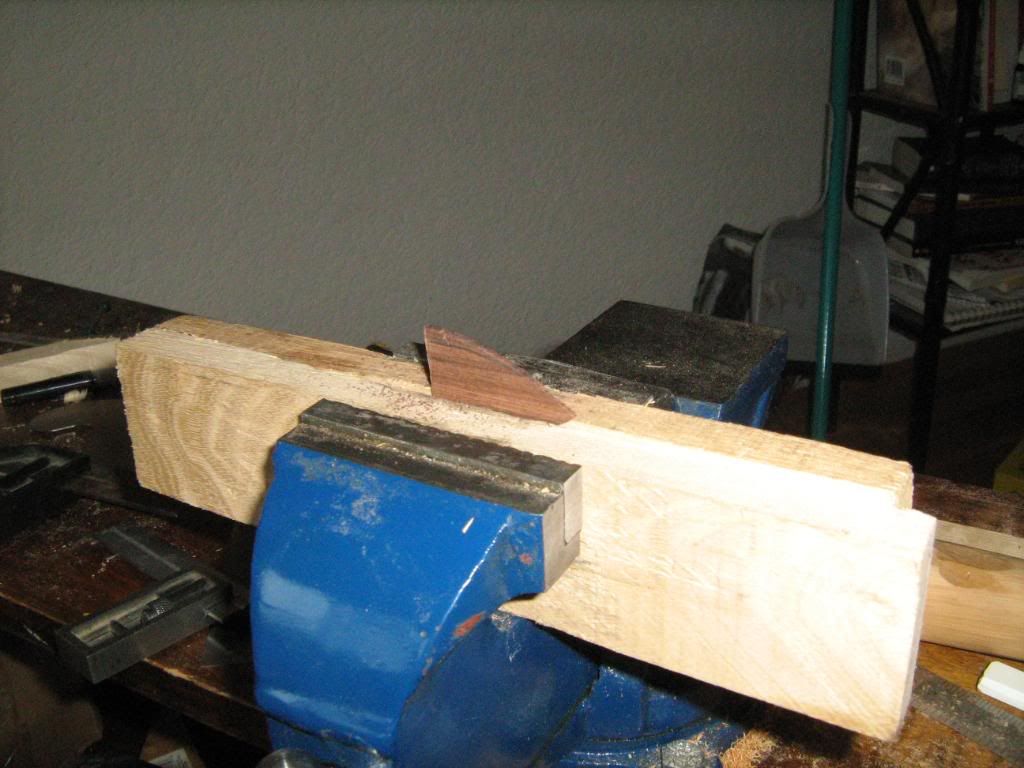
I put the inlay in here, and heated it with the gun.
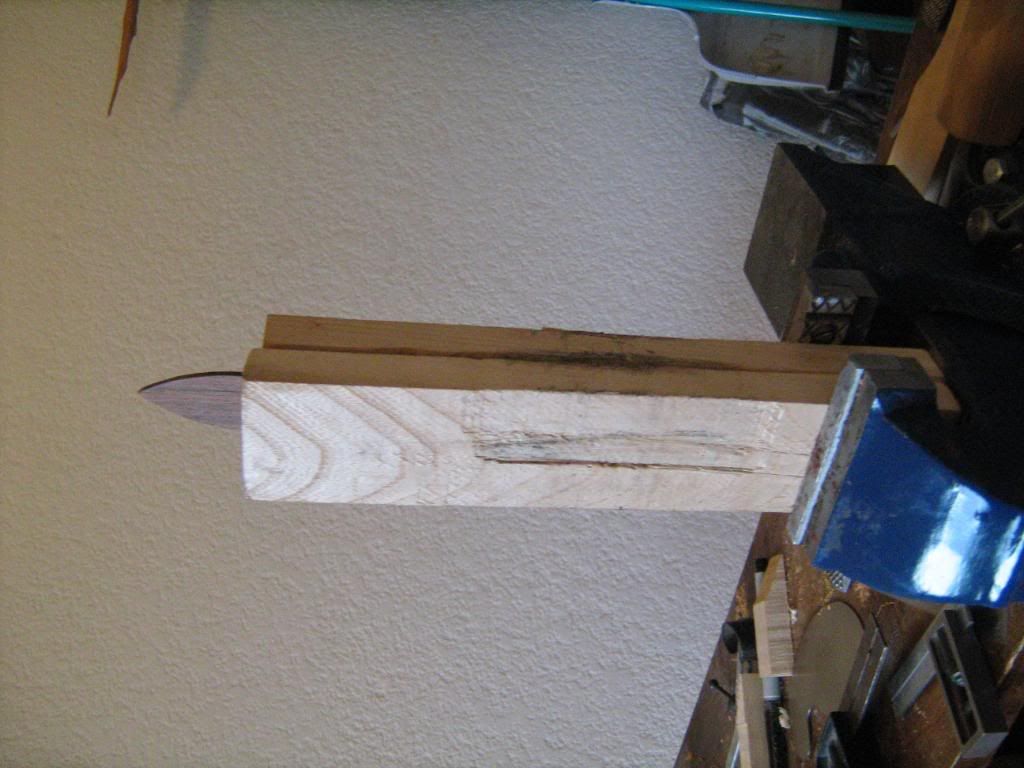


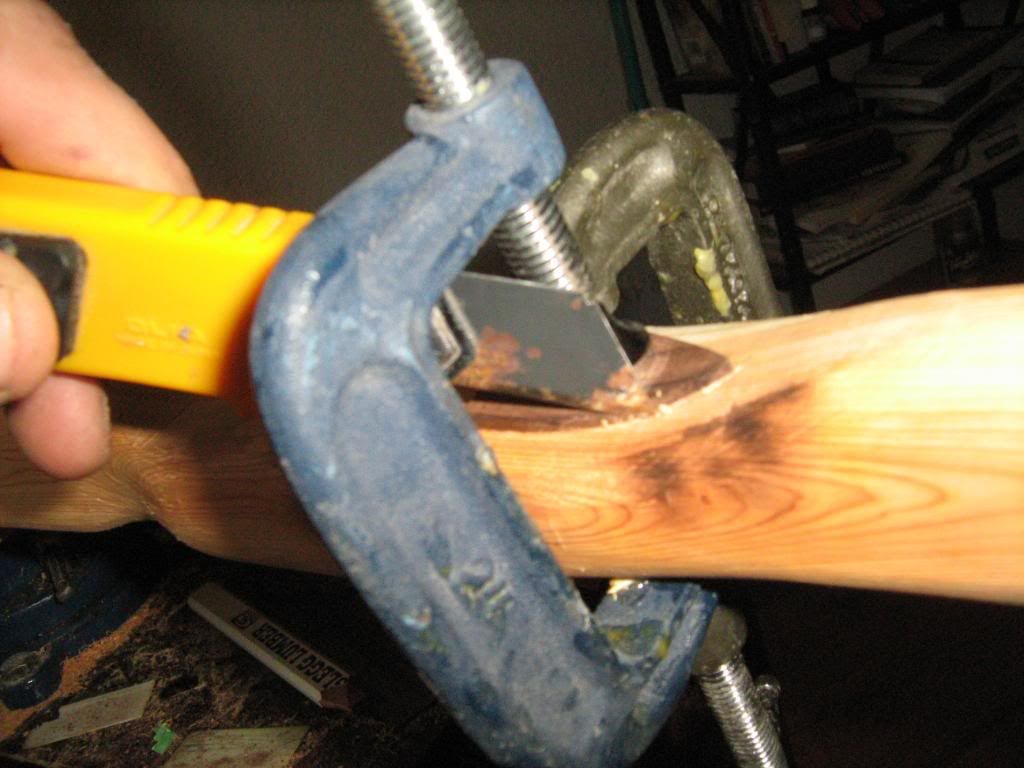
Then, i clamped it onto the side of the bow, and heated it further.  Scorched the bow a bit, but that's ok.  While i had the thing cooling down in the clamps, i marked its position with a RAZOR knife.  Not a pencil.  In fact i did more than mark it:  i cut into the handle all the way around it, starting at the corners and pulling the knife in the "field". 


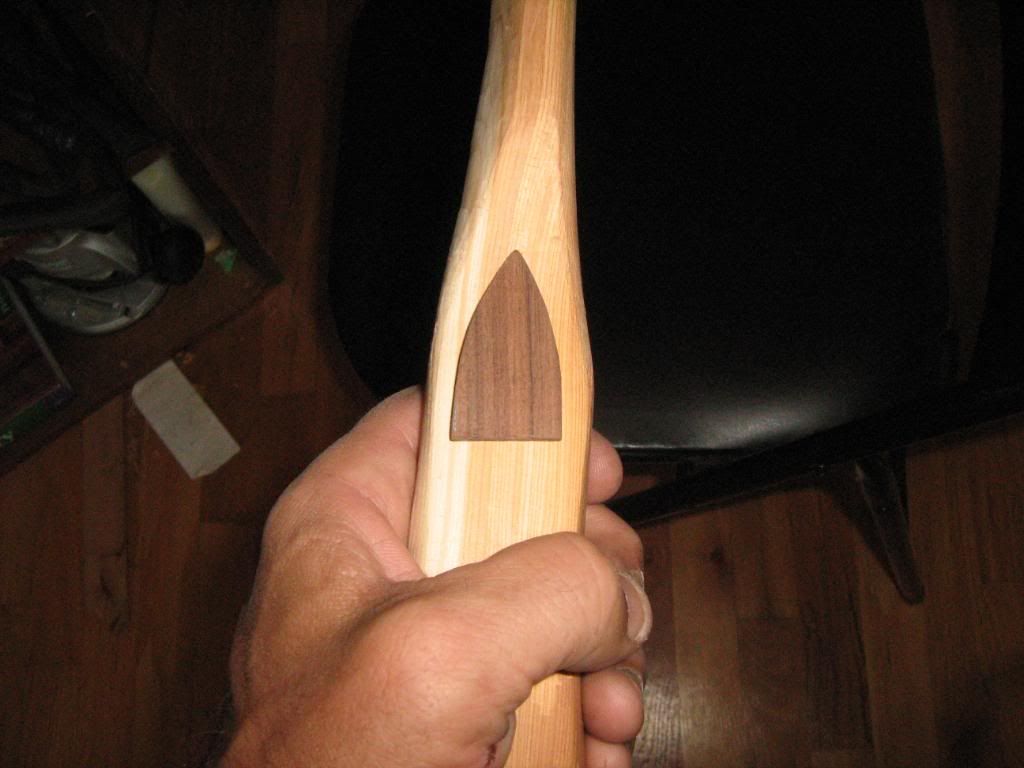
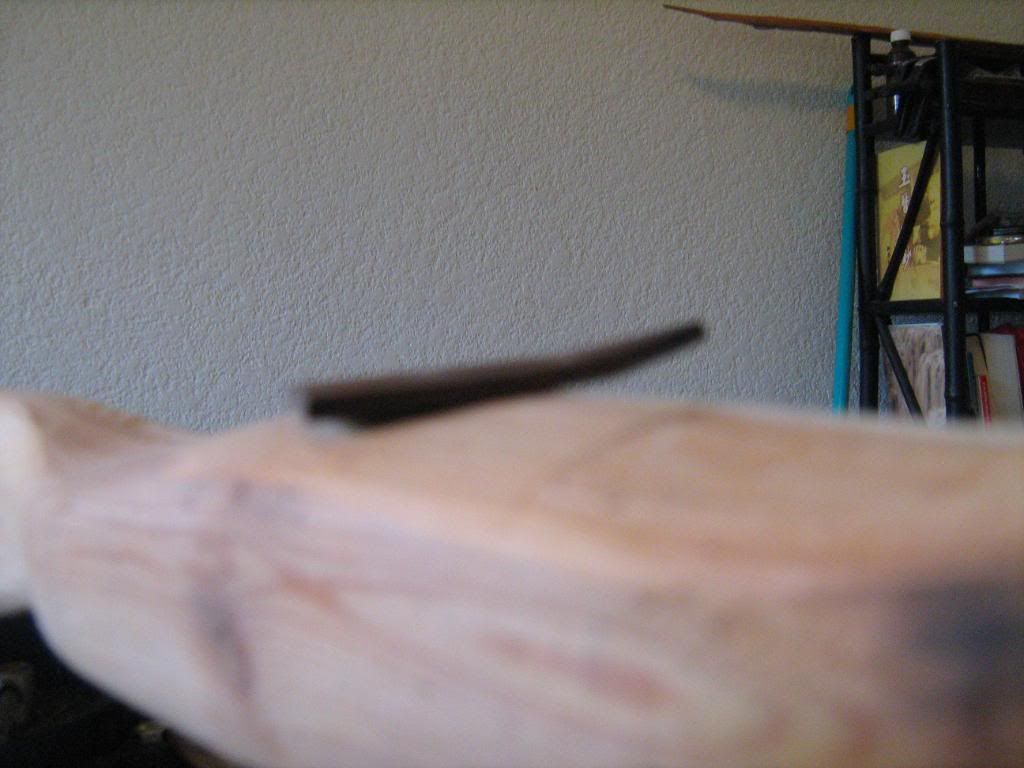
When i removed the clamps, the inlay had kept the shape of the handle, so it looked like a little boat.
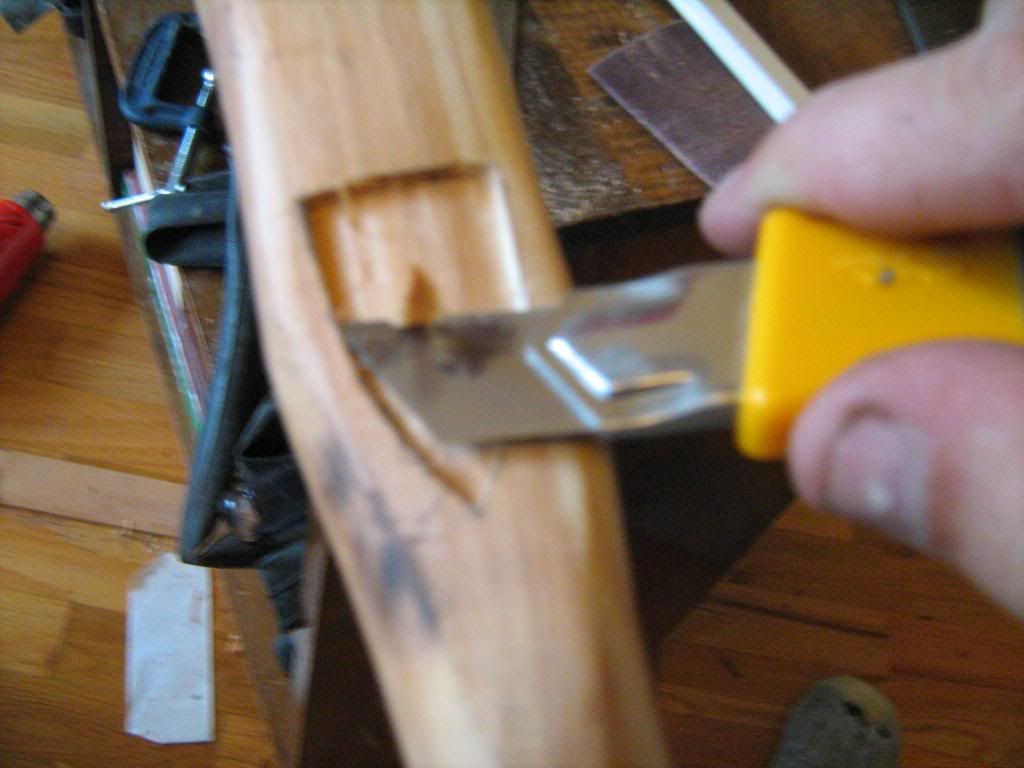


You can see i installed the inlay with lots of glue.  The old stairbuilder i used to work for said, "You can never have too much glue.  But you can have too little."  I remember that line every time i glue something up.  Is he haunting me?
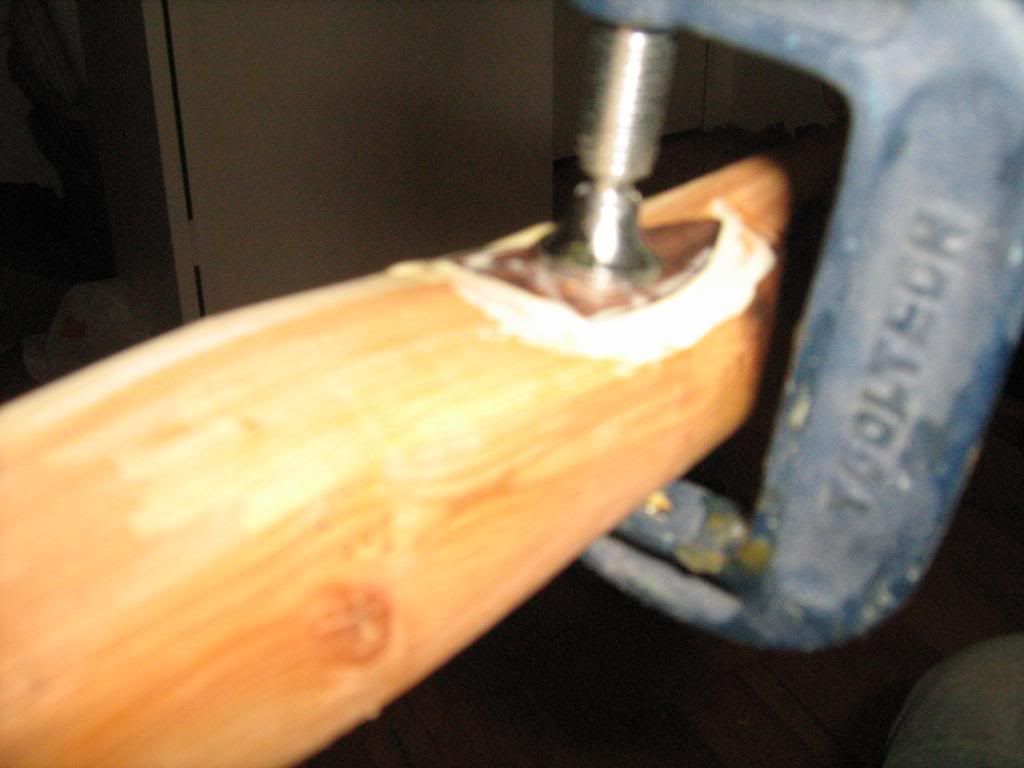


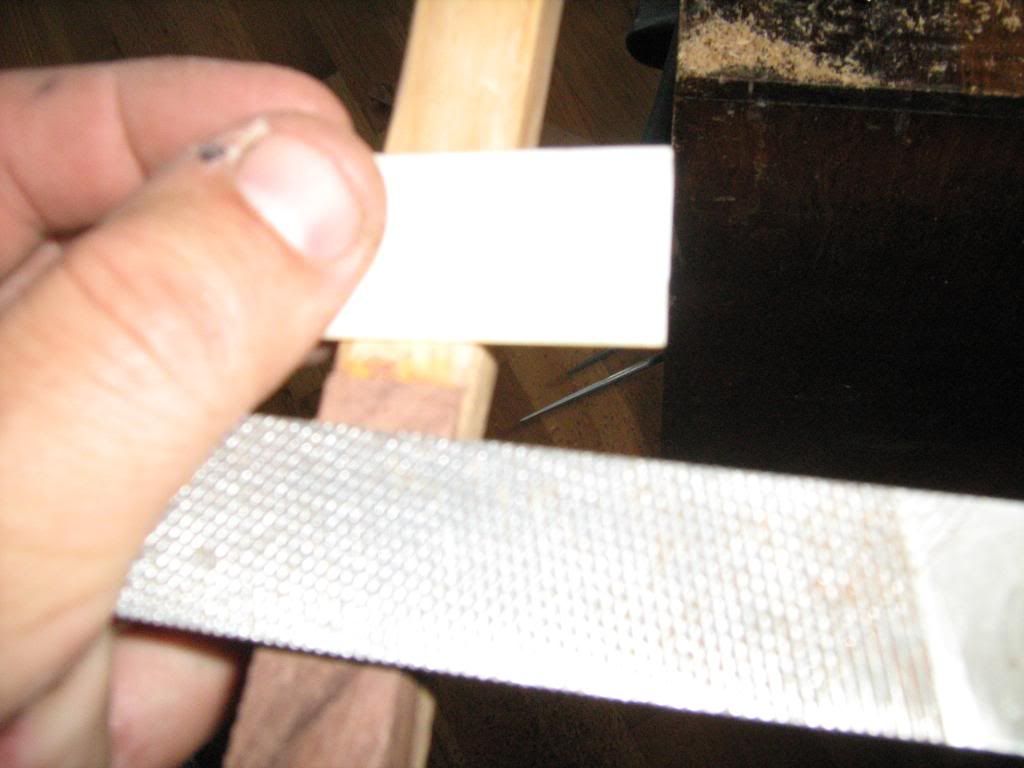
As for the ivory...i don't know how to work with it yet.  I put some in water like he said, and it cupped pretty noticeably.  I tried to cut some with my bandsaw and kablooie.  But i found a great use for the little ivory slats:  protection against file runoff.  This is a 4in1 rasp, which i used a hell of a lot on this bow.


« Last Edit: July 24, 2009, 11:22:57 am by radius »

radius

  • Guest
Re: yew holmegaard, 2nd attempt------tiller is complete
« Reply #29 on: July 24, 2009, 01:20:17 am »
An interesting thing happened. 

I put the rosewood on the tips not thinking that what i was doing was making the nock to nock distance Longer than what i had tillered the bow at.  I was sunk, cuz i thought that this would reduce the draw weight.  I thought this because to raise draw weight you can shorten the bow, lengthening the bow seemed likely to reduce the draw weight.  But if anything, the bow pulls a few pounds heavier.  I don't offer any explanation. 

But i am going to do a force draw curve for this one.  I'll get that on a little later.