Author Topic: yew holmegaard--full draw pics--tru-oil finish  (Read 29954 times)

0 Members and 1 Guest are viewing this topic.

radius

  • Guest
Re: yew holmegaard, 2nd attempt------tiller is complete
« Reply #30 on: July 24, 2009, 10:45:47 am »


radius

  • Guest
Re: yew holmegaard, 2nd attempt------tiller is complete
« Reply #31 on: July 24, 2009, 11:02:54 am »
These tips are cool, because they give a sort of recurved or flipped appearance (and effect? i don't know, haven't shot the thing)...originally i wanted to recurve the holmie tips but due to the knots in the ends i didn't even try...this works.

Offline woodstick

  • Member
  • Posts: 899
Re: yew holmegaard, 2nd attempt------tiller is complete
« Reply #32 on: July 24, 2009, 09:45:29 pm »
we need full draw pics. cant wait.
a drawn bow is a stick 9/10 broken

radius

  • Guest
Re: yew holmegaard, 2nd attempt------tiller is complete
« Reply #33 on: July 24, 2009, 10:09:02 pm »
just you hang on!

I just now cut some inlays to put in the rosewood tips.  But tonight, i'm going to go get drunk and hopefully meet a nice lady for a casual encounter.  Guy can only pound away at the wood for so long!

Tomorrow i'll put the inlays in, and take pics.  I bought some sandpaper and some tru-oil and possibly as early as tomorrow, we'll get full draw pics of the FINISHED bow.

radius

wish me luck!

radius

  • Guest
Re: yew holmegaard, 2nd attempt------tiller is complete
« Reply #34 on: July 25, 2009, 12:27:27 pm »
Projects for today: 

1.  Install yew inlays to the rosewood tip additions.  This is gonna be very tricky?  At least,  i don't wanna mess up! 

2.  Make an arrow rest from a piece of elk antler i was given by the archery rep at the outfitting store. 

3.  Get some superglue into the cracks at the knots.

4.   Finish shaping the transitions at the tips.  Not quite happy yet. 

radius

  • Guest
Re: yew holmegaard, 2nd attempt------tiller is complete
« Reply #35 on: July 25, 2009, 08:46:47 pm »
Ok, those projects went well except for the arrow rest...i put one on, but i might just shoot this off the hand, take that sucker off.

INLAYS

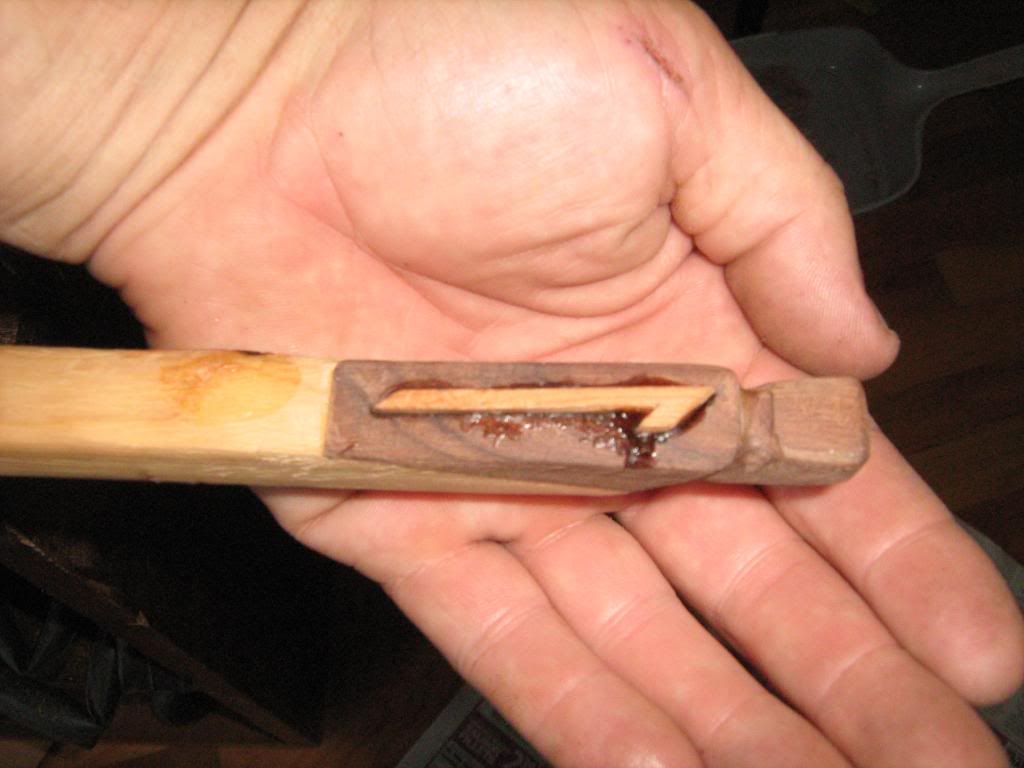
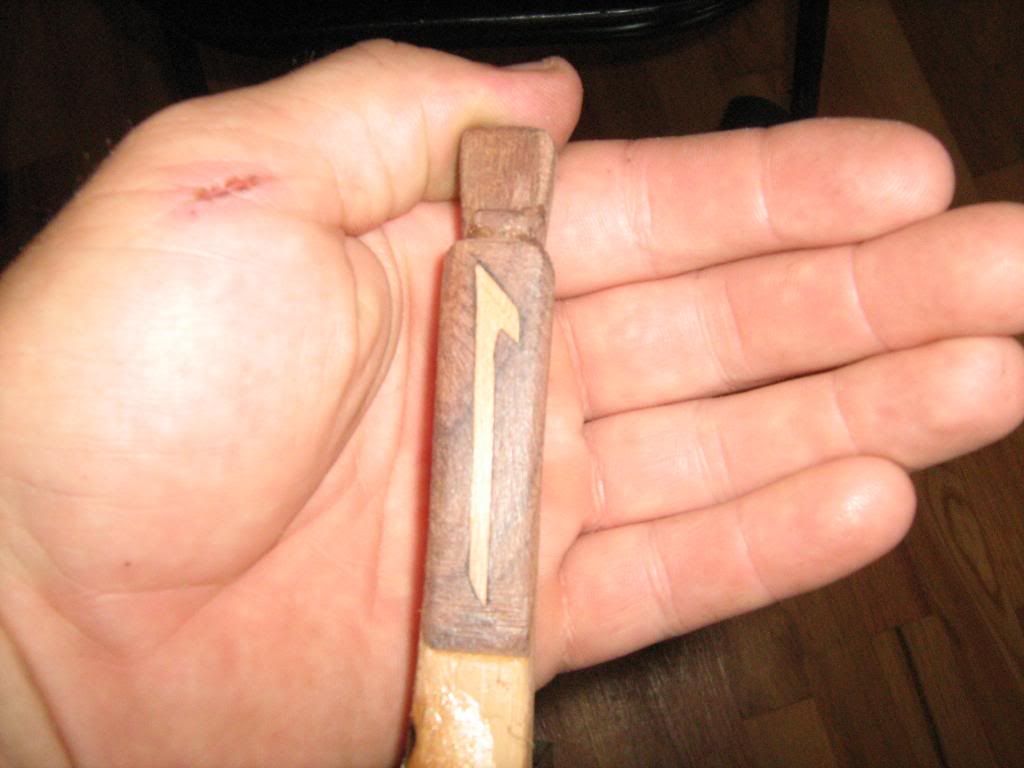
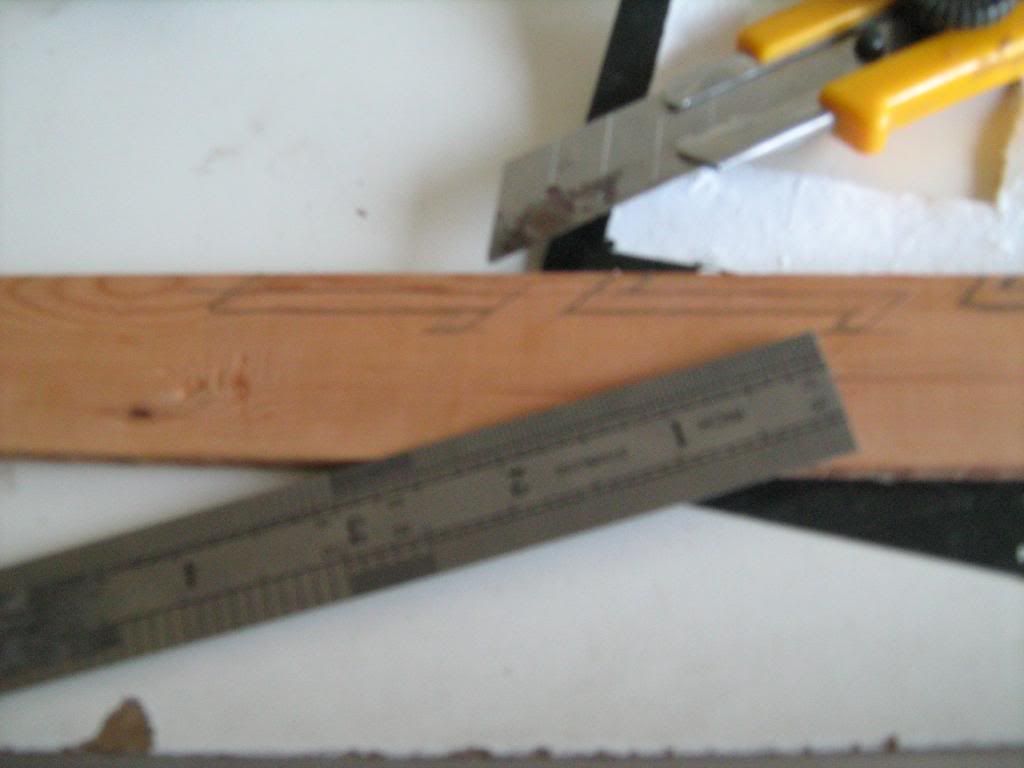
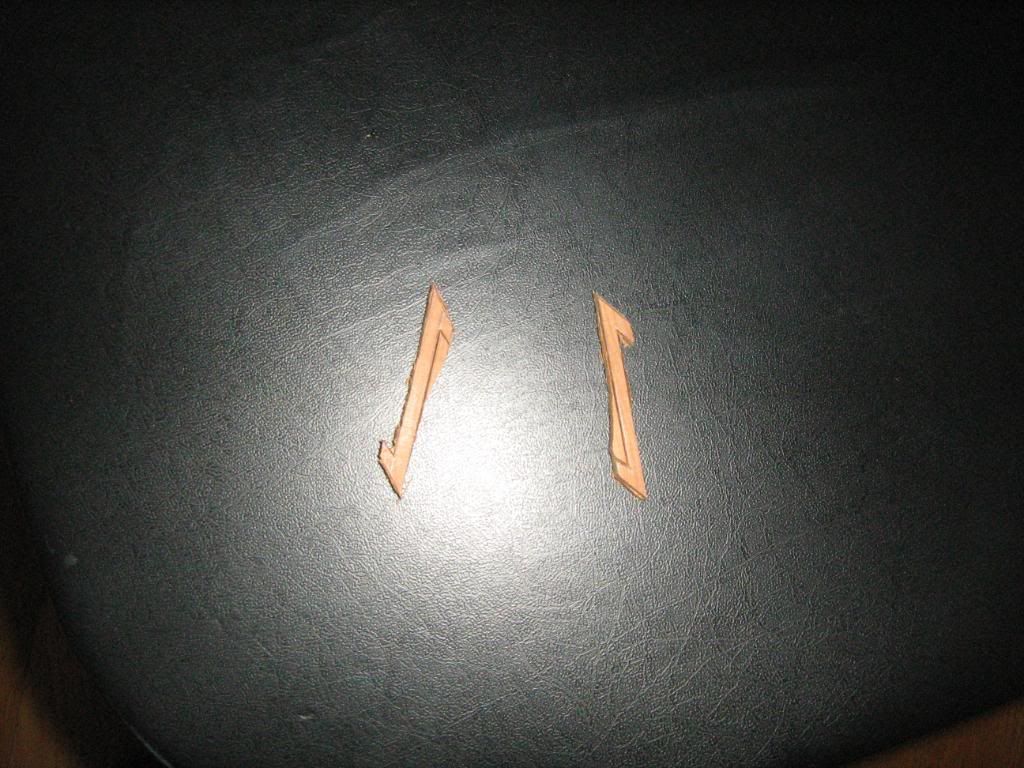
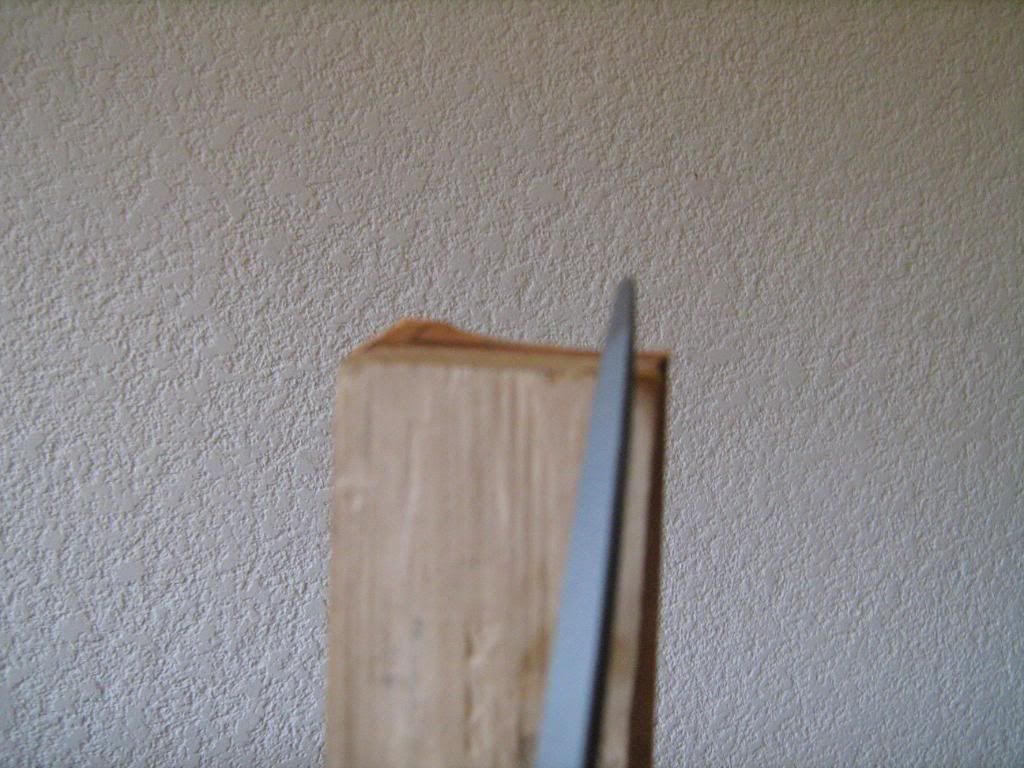
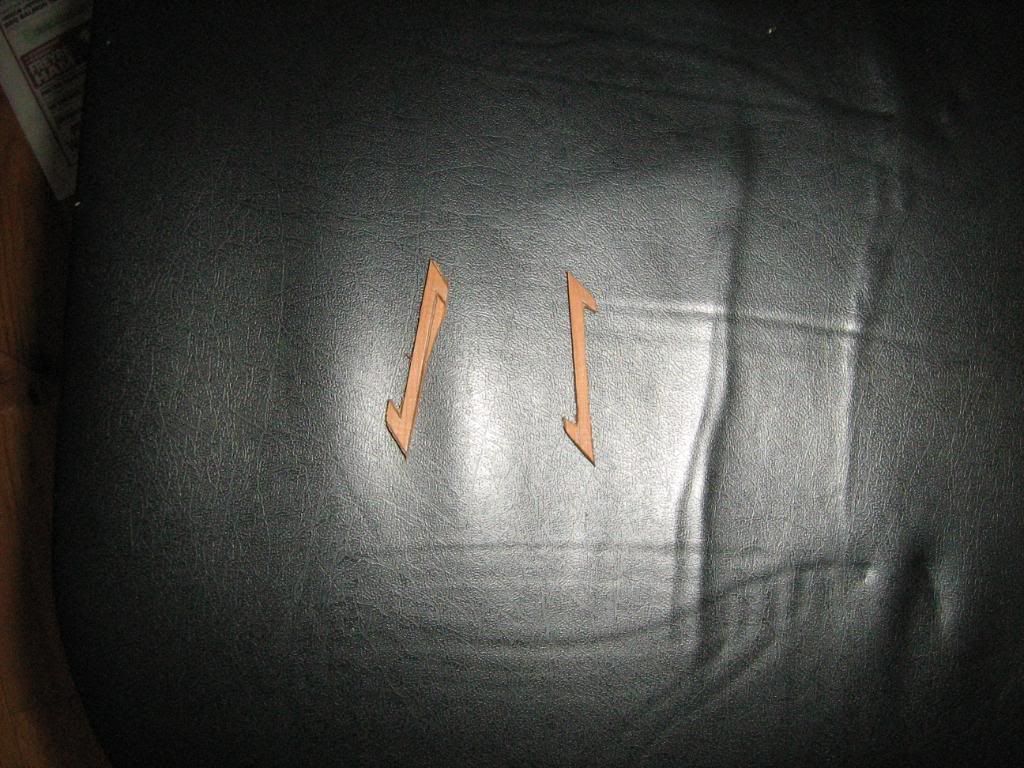
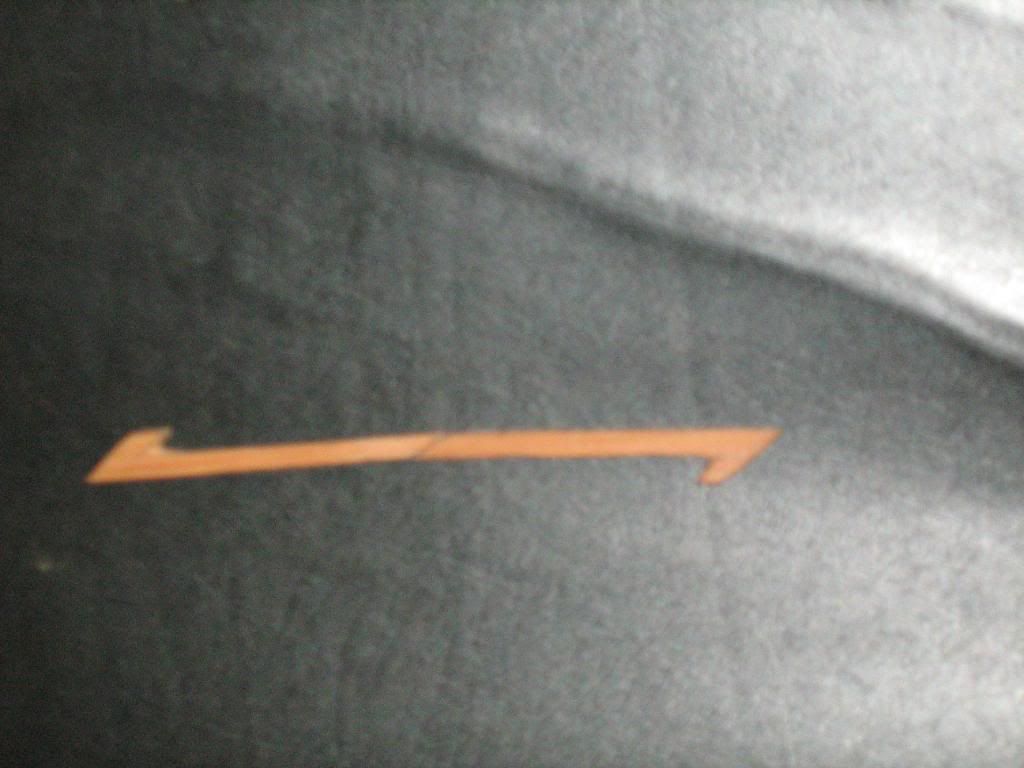
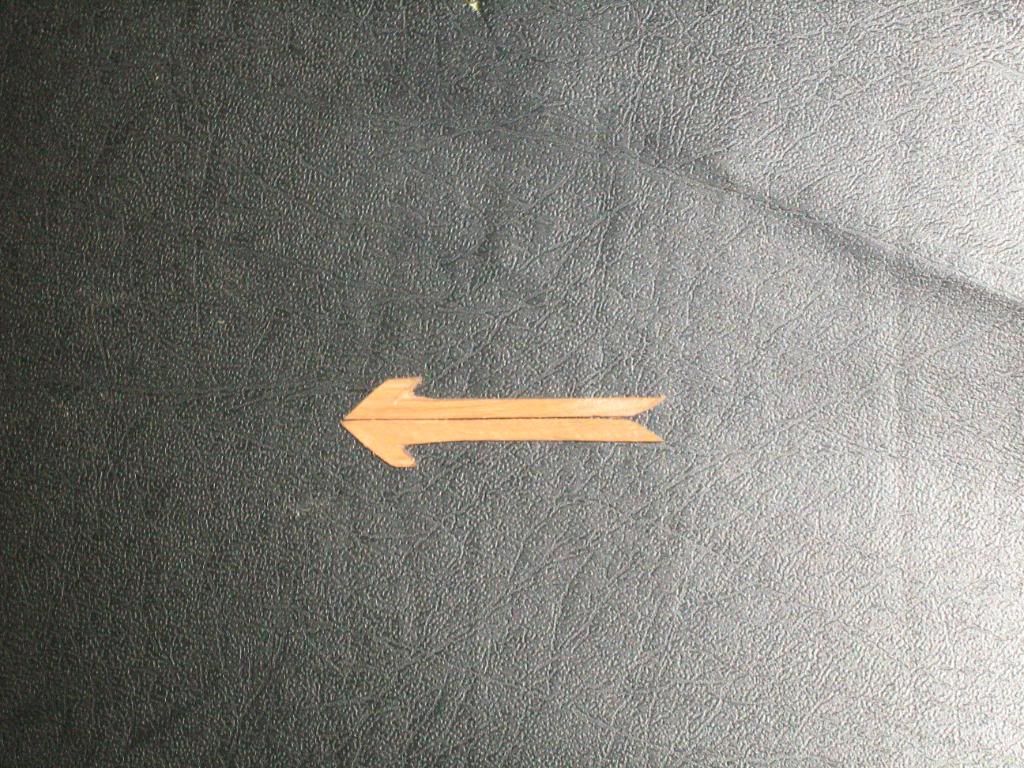
These were not easy.  Well, this part was easy:  drawing them on a blank.  The blank is a slat of yew which is 3/16 thick.  I used a sliding bevel to make the angle, roughly 60 degrees.  Next time i will make it a true 60 degrees, because then it will match the taper files i bought to clean out the inside corners.  You'll notice the shape:  a straight line with a hook at each end.  This is the rune i was going for, because apparently it means Yew Tree.   But sadly i busted one end off, making it a rune which means emotion/imagination/magic.  I've put a couple pics in which show permutations of how two of these "L's" can be combined.  One way of course is to make a longer version of the rune i originally intended.  Another way is shaped like an arrow:  another rune which means victory.


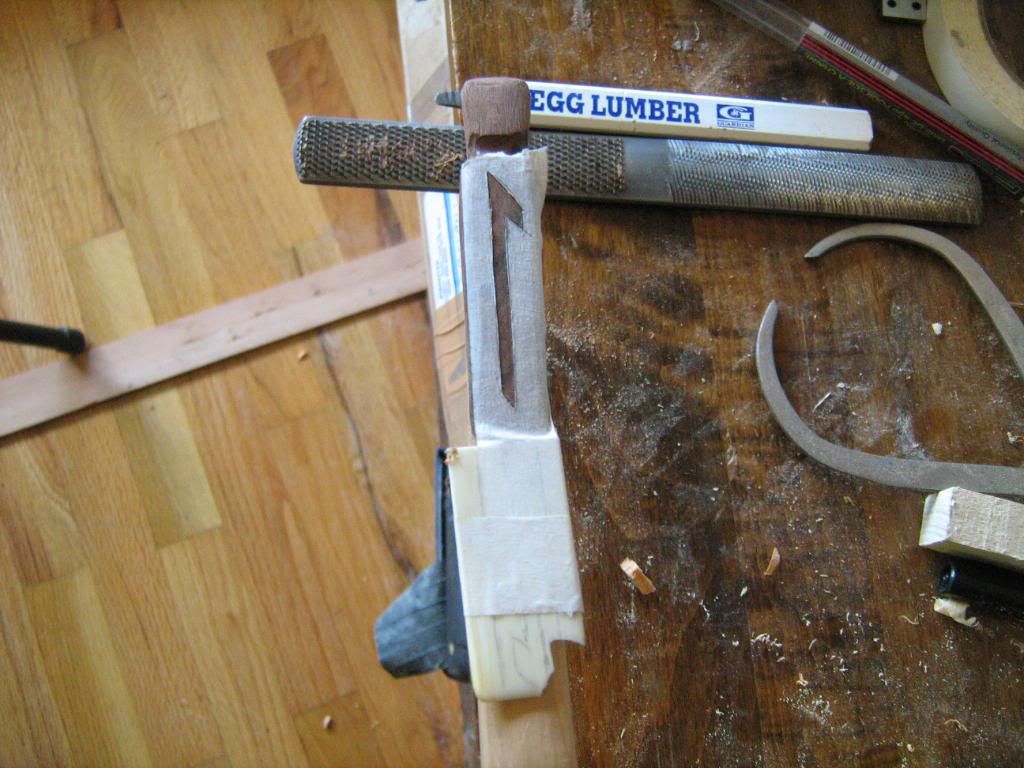
Here, i show how i taped the tip, outlined the piece to be inlaid, and cut the outline into the wood.  I taped the piece of ivory to the limb tip in case of knife error.  After the inlay fits in entirely, i mark it all around with a pencil to determine depth.  It helps to see where it doesn't go in deep enough.  After a couple errors at the handle, i realized i wanted a thicker inlay and a deeper set.  That way, when i  inevitably gouged the surrounding wood, i'd have plenty left to file and sand down with no one the wiser. 

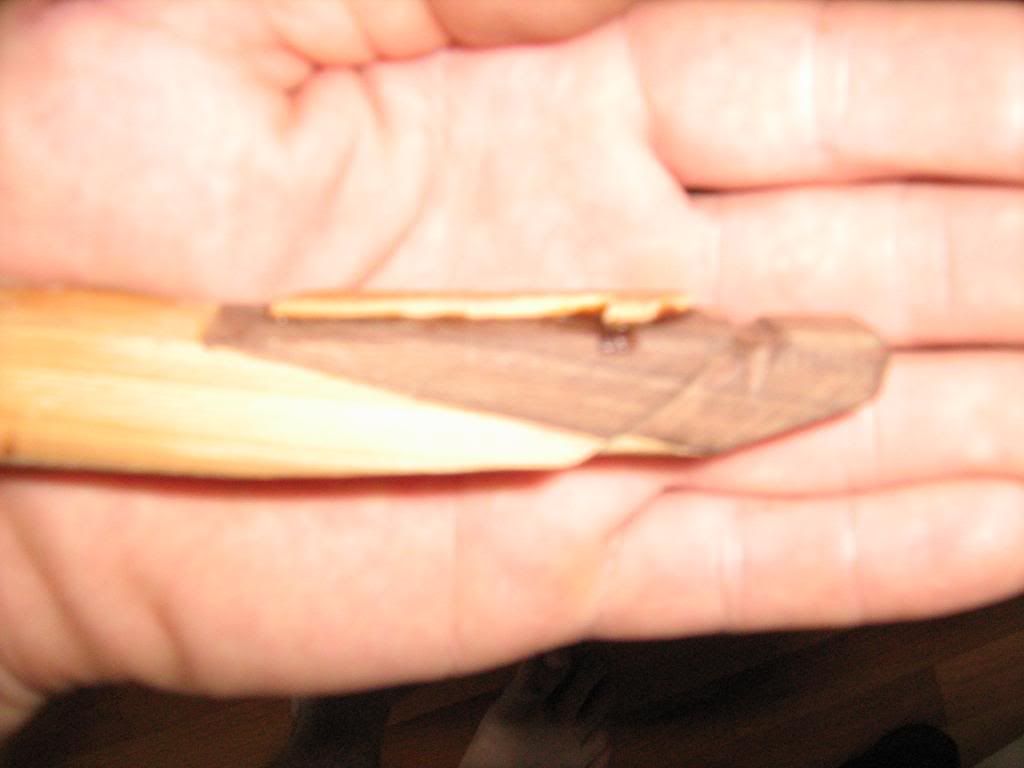
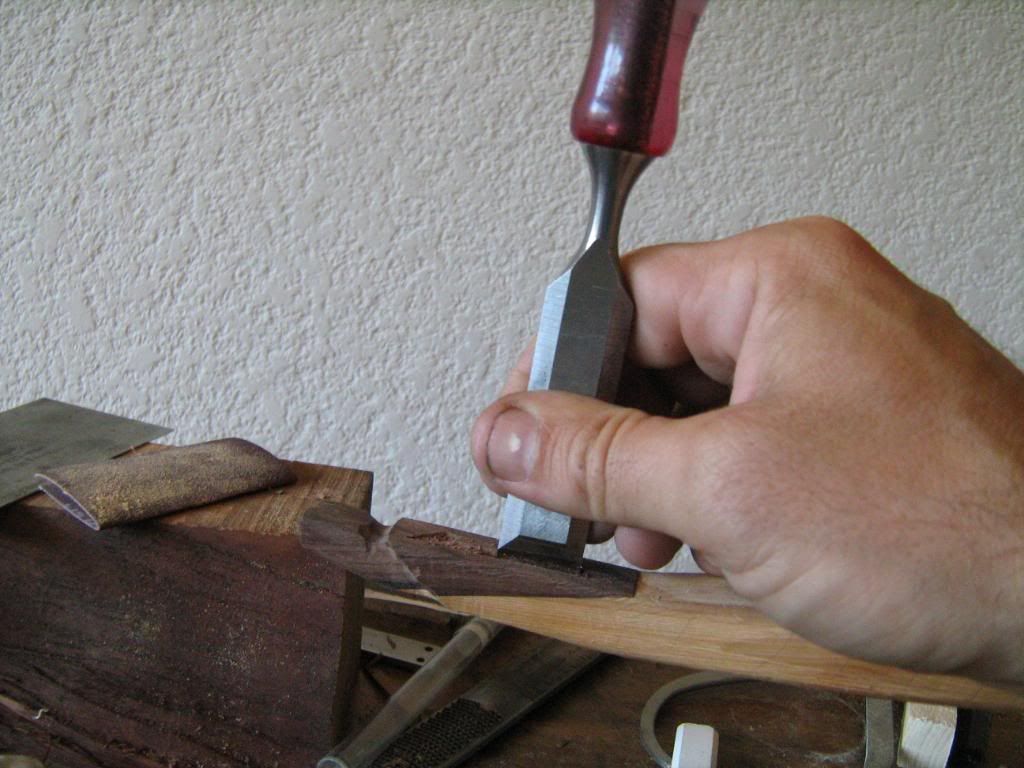
You can see how i worked the chisel:  vertically, back and forth.  I acquired some 400,800, and 1000 grit sharpening stones the other day (from the same guy who sold me the vise) and i put those to good use and that really helped.  Sharp tools.  Very important.


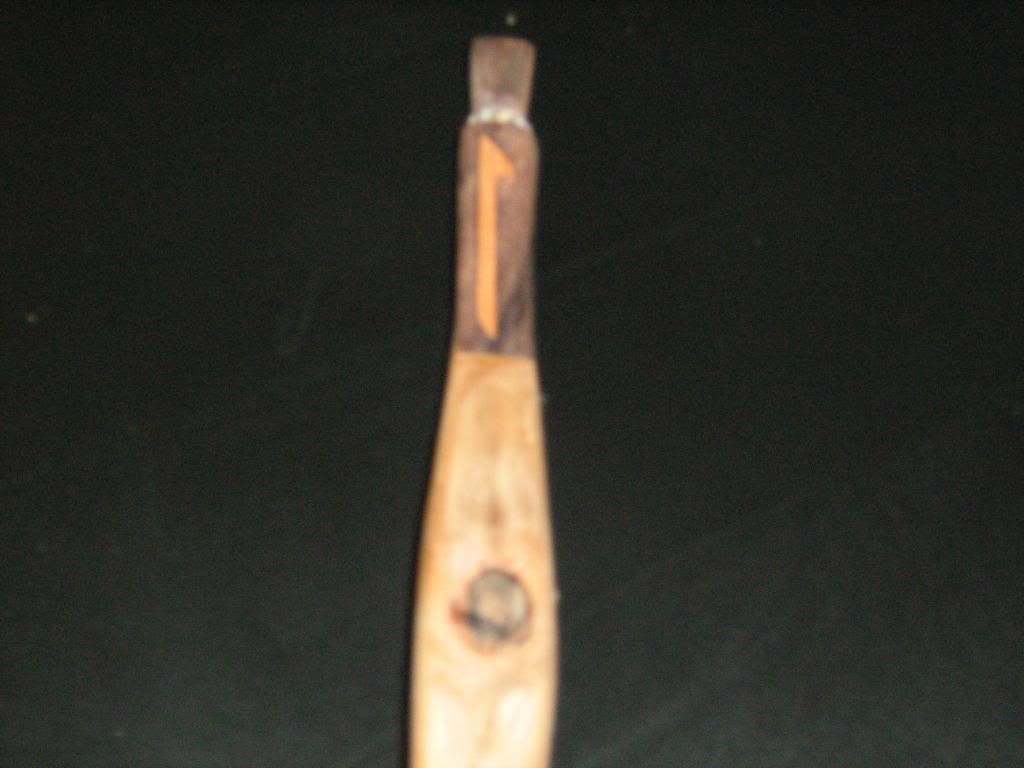
Here is the inlay after the clamps came off.  I mixed some rosewood/yew sawdust in with superglue and filled the mortise, adding more superglue once the spooge was spread around to make it all thinner.  This has hopefully had some effect on the outcome...still need to work on my inlay skills.  Even so, i think it looks pretty good.


« Last Edit: July 26, 2009, 10:44:05 am by radius »

radius

  • Guest
Re: yew holmegaard, 2nd attempt------tiller is complete
« Reply #36 on: July 25, 2009, 08:49:57 pm »
I found it difficult to chisel out the mortises for the inlays, using a knife at first and then switching to a sharp chisel.  The several tight corners were a real hassle.  I back-cut the inlays a fair amount in order to seat them in deeply enough to allow for finish shaping and sanding.  They are not perfect, but overall i'm happy with them.

I'm gonna knock the arrow rest off, sand that sucker, and give it a coat of tru oil...

cya soon

radius

  • Guest
Re: yew holmegaard, 2nd attempt------tiller is complete
« Reply #37 on: July 25, 2009, 09:45:01 pm »
ok i broke down and built a tiller tree.  I don't have a spring scale yet, so i'll use the tiller stick to get the weight, and know how far i can draw it on the tree to exercise it and find out where to remove the wood.  This is a very simple affair which cost 30 for the pulley.

6" from the belly


12" off the belly


17" off the belly


22" off the belly


26" off the belly


radius

  • Guest
Re: yew holmegaard, 2nd attempt------full draw pics at last
« Reply #38 on: July 25, 2009, 09:46:55 pm »
not perfect, but not bad...now i just gotta sand and seal it...and shoot it!

Offline Timo

  • Member
  • Posts: 2,026
Re: yew holmegaard, 2nd attempt------full draw pics at last
« Reply #39 on: July 25, 2009, 11:27:55 pm »
I think it looks right fair,considering the piece of wood you used. Not sure ifin I would have tackled it.

Tip inlays is a nice touch. Neat idea. ;)

On your next ones,make you some small chisels out of hacksaw blades.You can cut and file them to work in just about any corner/curve. Most long gun makers use them for their wire inlays.

radius

  • Guest
Re: yew holmegaard, 2nd attempt------full draw pics at last
« Reply #40 on: July 26, 2009, 12:00:08 am »
that sounds like a great idea Timo...i'll definitely try that...

and as for the hard to work stave, yeah it was a biotch no kidding.  But i learned a lot and it is pretty damn good for so many knots.  It wasn't easy, and almost entirely with handtools...the only thing i did with electric tools was trim some of the worst of the knots off with a bandsaw...oh and i used the bandsaw to rip the tip overlays out of a rosewood wedge...


Offline JustAim

  • Member
  • Posts: 353
Re: yew holmegaard, 2nd attempt------full draw pics at last
« Reply #41 on: July 26, 2009, 12:05:08 pm »
It looks great from here! Well done.

radius

  • Guest
Re: yew holmegaard, 2nd attempt------full draw pics at last
« Reply #42 on: July 26, 2009, 12:14:46 pm »
thanks bro...

that painting above my tiller tree is by Robert Ives, a local artist of unbelievable talent.  We recently did a trade: that photo for the osage/hickory holmegaard i made last year

radius

  • Guest
Re: yew holmegaard, 2nd attempt------full draw pics at last
« Reply #43 on: July 27, 2009, 11:42:10 am »
ok, yesterday i gave it 2 coats of tru-oil...here's how it looks this morning...oh i should add that before oiling it, i sanded it from 80 to 120 to 150, wetting in between, and then boned the entire surface of the bow two times with a birch dowel.

that was a laborious 2 weeks of bowmaking, amigos...for a first stave, and a knotty mofo, i am pretty happy with my product here...be chewing on the venison soon...


thanks for coming along with me on this one...

Offline Josh

  • Member
  • Posts: 3,367
  • Silence is golden but duct tape is silver.
Re: yew holmegaard--full draw pics--tru-oil finish
« Reply #44 on: July 28, 2009, 04:14:45 pm »
Wow looks really great Radius! Thanks for bringing us along on this incredible journey.  Nice save from such a difficult stave!!!   :) :)   -josh
“The trouble with quotes on the Internet is you never know if they are genuine.” —Abraham Lincoln