Author Topic: Hidden Tang Build Along  (Read 27983 times)

0 Members and 1 Guest are viewing this topic.

Offline madcrow

  • Member
  • Posts: 1,531
  • Swift, Silent, and covered in wood shavings.
Hidden Tang Build Along
« on: July 30, 2009, 01:20:26 am »
When I got these glued up, I realized that one was a hidden tang knife and I should have done a build along with it.  So I decided to build another.  This can be done a couple different ways.  One is to drill an antler out and mount the blade in it.  The other is to boil the antler fo a few hours ( or let it set for a couple weeks in a bucket of water) and drive the blade in with a hammer.  I will be drilling this one.


The first things needed are an antler and a hidden tang blade.  You can use a 1" X 5" X 1" piece of wood instead of the antler, but here I am using a decent sized antler.  I also have a Roach Belly blade and two shorter blades to choose from.  I am going with the Roach Belly.  Most of the ones I have seen have been full tang, but I wanted to try this.


A few cuts later, I am left with this, ready to be bored.  That white base is going to need something added to it, but I will work on it later.


I cleaned it up and smoothed it out on the belt sander.


I also sanded the end of the antler so it would fit flush against the brass guard.


Then I started cleaning the blade some, working out most of the scratches and most of the burned oil from the heat treat and temper.


While cleaning the blade on the sander, it is helpful to have a container full of water handy to quench the blade in.  If it gets too hot, the heat can change the temper of the steel.  Then you have to start all over.


One other thing about the can of water.  Make sure it is not the one you are using for a spit can.  Trust me on this.  I rough shaped the tang to fit inside the antler and started boring the antler.


Turn the speed down and go slow when boring the antler out.  The soft pith comes out fairly easy, but it is also easy to bore out too much antler and make a hole in the side of it.  It can be fixed, but it is a pain.


I finally wabbled the hole out large enough for the tang to fit in.


It looks like a good fit.


You can save the antler shavings and use them if you make a hidden tang with no guard.  Just mix it in with the epoxy and fill the hole.  It will dry the same color as the antler.  I will post the rest in the morning.


radius

  • Guest
Re: Hidden Tang Build Along
« Reply #1 on: July 30, 2009, 02:40:20 am »
cool man, i remember you were planning to do one of these...

thanks

Offline madcrow

  • Member
  • Posts: 1,531
  • Swift, Silent, and covered in wood shavings.
Re: Hidden Tang Build Along
« Reply #2 on: July 30, 2009, 09:12:02 am »
Now for the fun part.  The guard.  If this is not done right, you can waste quite a bit of brass trying to get one guard.  First, make sure that the brass is wide enough to cover the antler.  Mine was, with almost 1/16" inch to play with on the sides.  Find the center of the brass and mark it.


Make a line at the top across the first line.  This is where the hole will start.  Make sure that you leave enough material at the top to cover the antler.  Measure the tang on the knife and and make a corresponding mark on the brass.  Here is what I need layed out.


Mark the holes with a hammer and punch and drill them with a drill bit one size smaller that the width of the tang.  Yes, I said smaller.  The fit needs to be tight.  The hole with be cleaned up with a dremel tool and a cutting disk.


Somehow, I skipped the dremel tool pics.  Anyway, once the hole is cleaned and squared, use the cutting disk to gently and slowly sand the edges of the holes.  Don't go past the top and bottom marks.  That will leave gaps.  The fit was so tight on this one, that I locked it in a vise with the tang pointing up and used a deep well socket and rubber mallet to tap the guard in place.


Offline knightd

  • Member
  • Posts: 1,392
    • www.primalneedarchery.com
Re: Hidden Tang Build Along
« Reply #3 on: July 30, 2009, 09:19:52 am »
Dang they let you out long enough to work on your stuff !!

Offline madcrow

  • Member
  • Posts: 1,531
  • Swift, Silent, and covered in wood shavings.
Re: Hidden Tang Build Along
« Reply #4 on: July 30, 2009, 10:02:43 am »
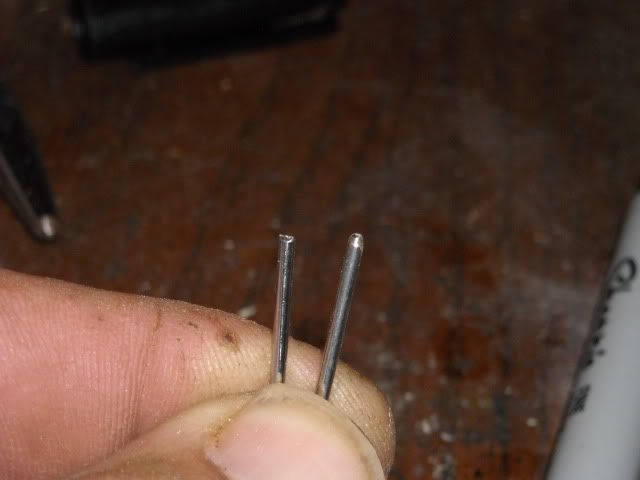
Since I had already bored holes in the tang, I will talk you through this one.  With the guard seated firmly, I just lined the guard up with the front of the antler and marked and bored the holes.  Normally, if the holes are not bored, I put the tang in the handle, and while holding it in tight, bore through the antler and against the steel just enough to mark a spot on the steel.  Take the tang out, bore through the steel and put it back into the antler.  Then bore back through the first hole, then in the steel and finally the antler on the other side.  Insert a pins in the hole.  This will hold everything in place while the second hole is being bored, insuring that the holes stay lined up.  Now a word about pins.  Inserting a blunt pin can be a pain, so I grind the tip down a little.  It saves alot of cussing and time.  These are not the pins I used, but they were handy for the picture.


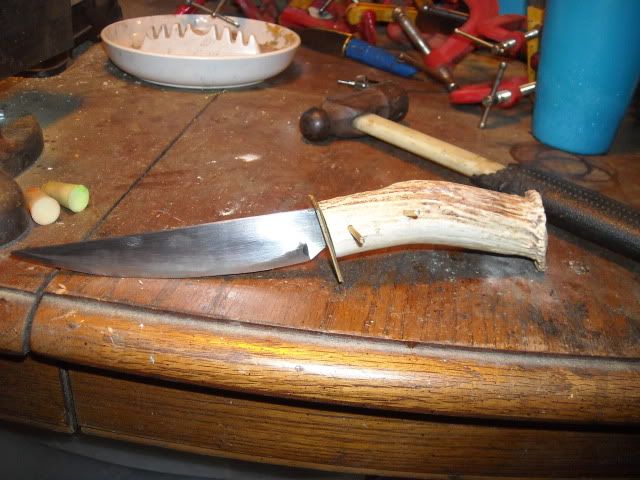
Here it is assembled and ready for some trim work on the guard.  I know, somebody is saying that the pins are not straight.  That happens.  But, when they are cut off and ground smooth, nobody will notice.


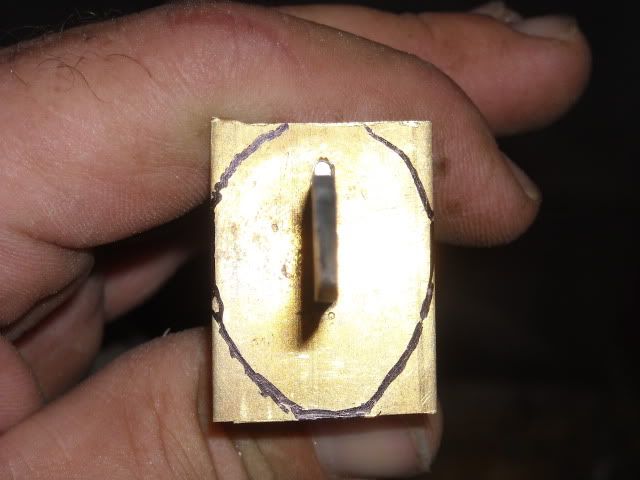
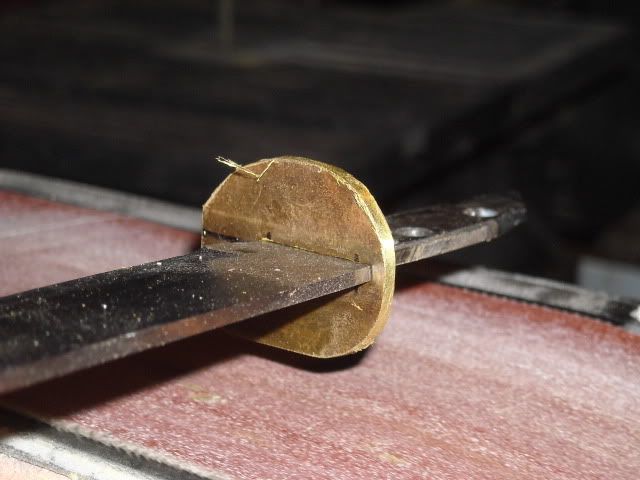
I marked the shape of the guard with a sharpie and removed it from the antler.  I will do the shaping on the belt sander and don't want any sanding marks on the antler.


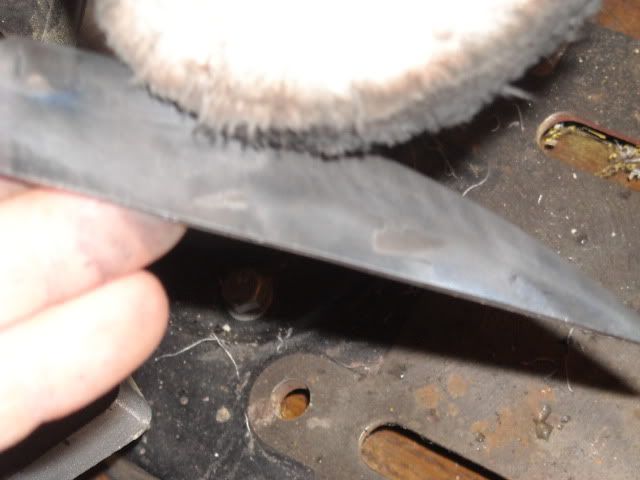
With that done, it is back to the buffing wheel for some shine.  Notice how I am holding the blade against the wheel.  If you get the back edge (where my pinky is) against the wheel, a 2000 rpm drill press can yank the blade out of your hands.  Be careful.  When one edge is polished, I flip the blade so that the point is up.  That keeps the back edge away from the wheel.  When one side is done, I work on the other side the same way.  If the blade starts getting hot, quench it in water.  Again, make sure you use the container that you have not been spitting in.


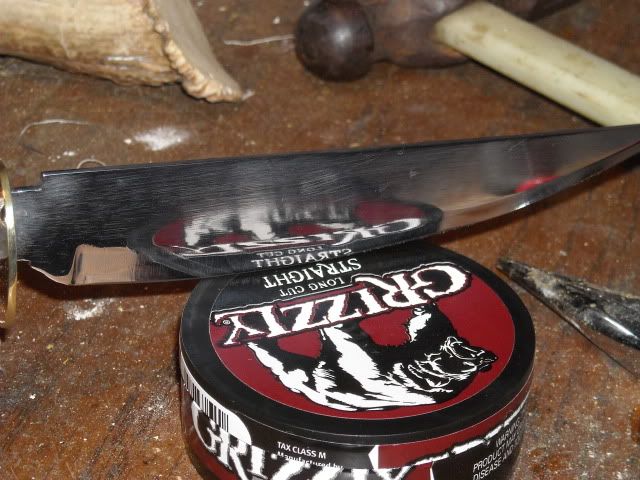
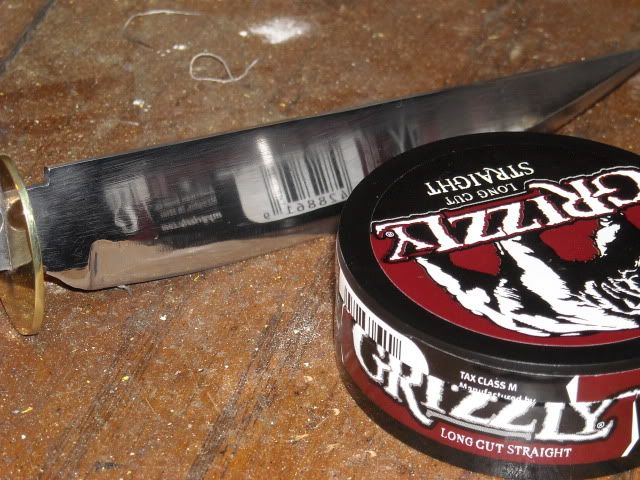
OK, the blade is fairly shiny and ready for assembly.  I will shine it more when the epoxy dries.  One of the reasons I only partially shine it is that there will be some of the epoxy ooze out around the guard.  If you have spent the time shining it completely, you will scratch up the guard trying to get the epoxy off.  I buff it to get it warm and the thin layer of epoxy will peel off the brass with minimal scratching.


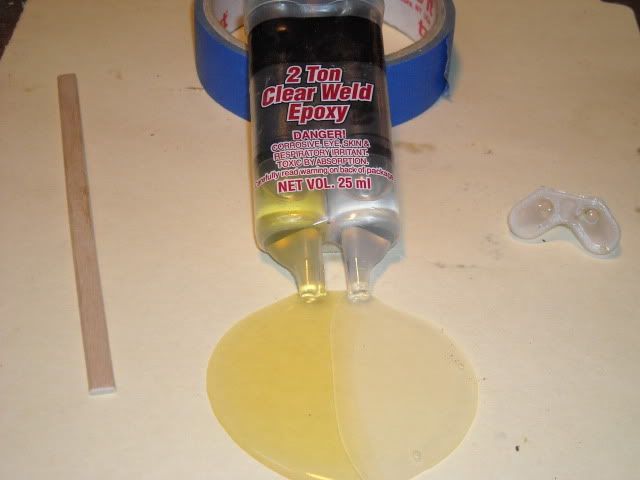
I use Devcon two part epoxy for most of my knives, mostly because of the holding strength.  Mix enough to fill the hole.  I use a small stick to probe around and get all the air bubbles out.  It helps to wear some latex gloves while doing this.  The stuff is sticky and does not want to wash off.


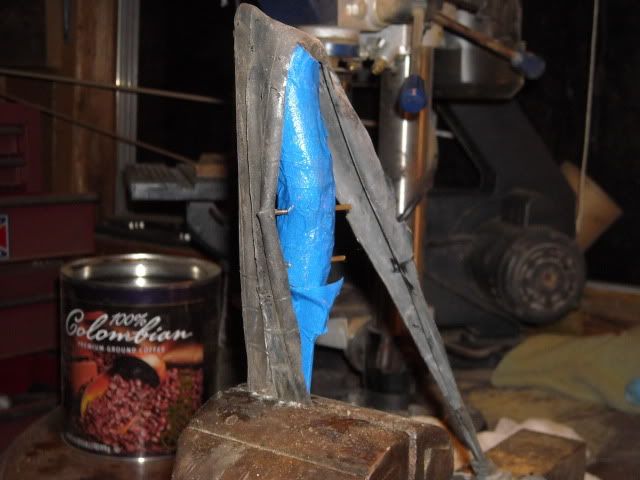
I tape the blade up completely and the antler.  Then use one of the pins to pop holes in the tape where the pin holes are in the antler.  This way you don't have to hunt for the holes while the antler in full of epoxy.  Yes, some of the epoxy will ooze out of the pin holes, but things are about to get messy anyway.

Assembled, epoxied and ready to to press and dry.


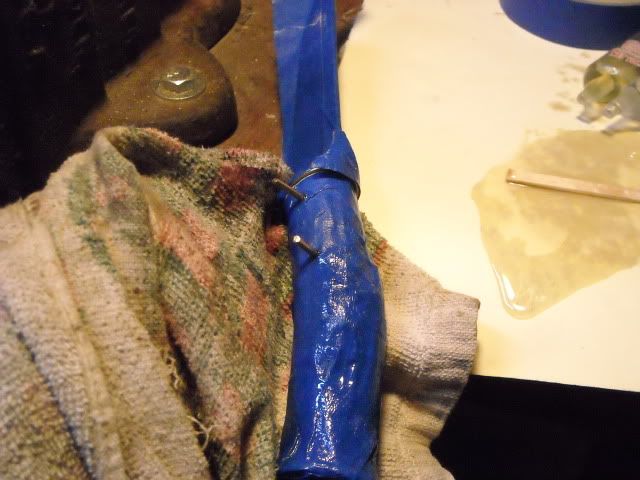
For the press part, I just use the vise and a piece of innertube.  This will hold it in place while it dries.  Things have a habit of shifting around some if they are not secured.


Offline madcrow

  • Member
  • Posts: 1,531
  • Swift, Silent, and covered in wood shavings.
Re: Hidden Tang Build Along
« Reply #5 on: July 30, 2009, 10:04:03 am »
Yep, got out on good behavior.  Boy, I fooled them. >:D >:D >:D

radius

  • Guest
Re: Hidden Tang Build Along
« Reply #6 on: July 30, 2009, 11:12:52 am »
oh man i need a shop...it's one thing to rasp and scrape out bows in an apartment...but i wanna grind some steel!

Offline John K

  • Member
  • Posts: 1,936
Re: Hidden Tang Build Along
« Reply #7 on: July 30, 2009, 01:46:13 pm »
Good stuff Eddie ! Thanks for the build along.
The only way to fail is to never start !

Offline knightd

  • Member
  • Posts: 1,392
    • www.primalneedarchery.com
Re: Hidden Tang Build Along
« Reply #8 on: July 30, 2009, 08:21:36 pm »
They let you out for a few hours and you are already constructing weapons of destruction.. >:D

Offline madcrow

  • Member
  • Posts: 1,531
  • Swift, Silent, and covered in wood shavings.
Re: Hidden Tang Build Along
« Reply #9 on: July 30, 2009, 10:53:29 pm »
After all that work, I will have to sneek in some knapped points, this one will set the metal detector off.

Radius, all of the work done on this (except for the heat treat and temper) can be done with a cordless drill, some drill bits, and a dremel tool with some grinding wheels, buffing wheels, buffing compound, sanding disks, cutting disks and a little time.  On the other hand, a drill press does look good on the kitchen counter.

Offline Timo

  • Member
  • Posts: 2,026
Re: Hidden Tang Build Along
« Reply #10 on: July 31, 2009, 08:32:34 am »
This is perty good stuff Eddie. Good on  you to take the time to show your process. I see all that yeller wood in the background. ;D

Offline smokeu

  • Member
  • Posts: 354
Re: Hidden Tang Build Along
« Reply #11 on: August 02, 2009, 09:55:35 pm »
Thats some good stuff there... JB weld is good too, anybody ever try it on their knives, I know a lot of guys that use it.
Longview, TEXAS

radius

  • Guest
Re: Hidden Tang Build Along
« Reply #12 on: August 05, 2009, 12:43:03 am »
ur right, madcrow:  i oughtta get me a drill press for the countertop...

Offline madcrow

  • Member
  • Posts: 1,531
  • Swift, Silent, and covered in wood shavings.
Re: Hidden Tang Build Along
« Reply #13 on: August 19, 2009, 07:31:26 am »
Here are a few pics of the finished knife.  I got busy and forgot to post them.  OOPS.


Offline david w.

  • Member
  • Posts: 1,823
Re: Hidden Tang Build Along
« Reply #14 on: August 20, 2009, 01:08:37 am »
Thats beautiful :)
These pretzels are making me thirsty.

if it dont go fast...chrome it - El Destructo