Author Topic: Forge build  (Read 8402 times)

0 Members and 1 Guest are viewing this topic.

Offline Wolfsongforge

  • Member
  • Posts: 53
  • My name is Kenneth, and I am a bladesmith
Forge build
« on: June 03, 2010, 08:06:21 pm »
Ok here goes.
!st you are going to need a forge body. it can be anything that is round. metal and hollow. I have used empty freon tanks, empty propane tanks etc etc. this time I have used a 10 gallon air compressor tank.
Then you will need some kind of insulation. The best type in my opinion is castable refractory  such as kast-a-lite-3000 or mizou. This time I opted for a ceramic blanket called kaowool it is rated by density this is 8#
Now the koawool is not tough enough on its own. you can rip it easy and that does 2 things ,1. lets heat out, 2. causes ceramic fibers to become airborne.You do NOT wanna breath this stuff. So what you do is get some kind of refactory coating. this is what I used.
Then you mix it to a consistency of cake batter.
Then you put the kaowool into the forge body, it should be at least 2'' thick

Offline Wolfsongforge

  • Member
  • Posts: 53
  • My name is Kenneth, and I am a bladesmith
Re: Forge build
« Reply #1 on: June 03, 2010, 08:18:42 pm »
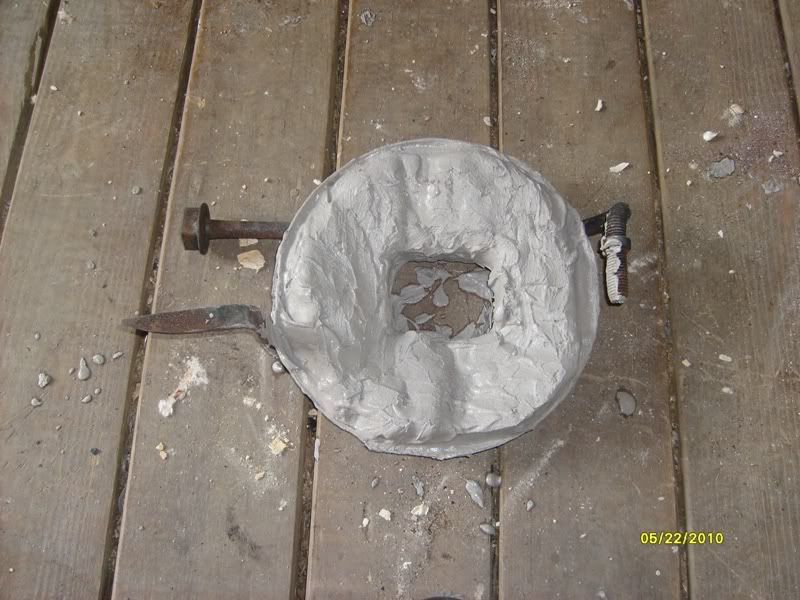
 As you can see I put my wool about 3 inches thick.

then you can start painting the wool with the satanite,you should paint it to bout 1/8 thick the let it dry then do it again till you have bout 1/4'' thick satanite on the walls.( did not snap a picture of this step , sorry)
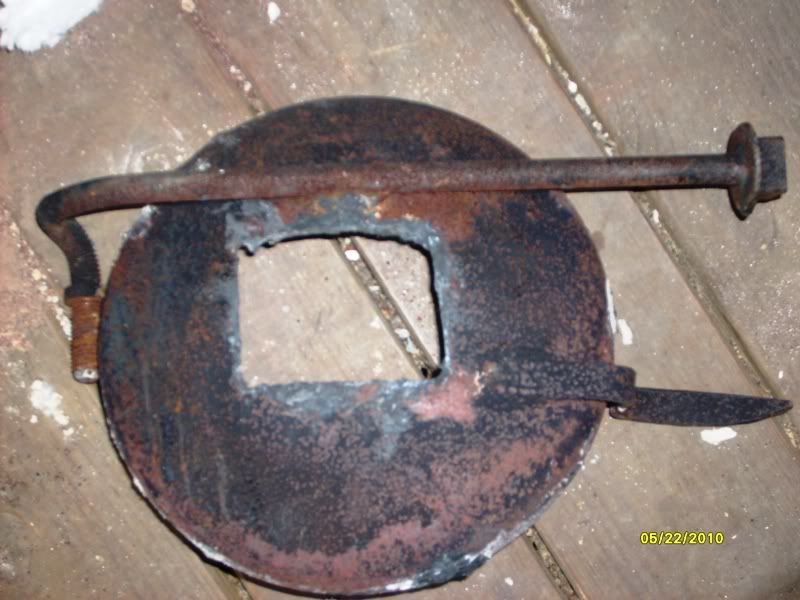
Then you have to make your door. I used the end of the compressor tank and welded a door hinge and handle on it.

Now flip it over and coat the inside of it with the satanite to give the wool something to hold on to.

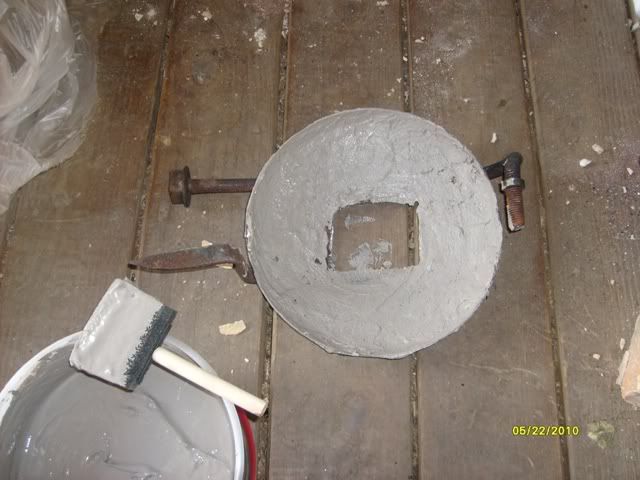
then lay your wool on it while the satanite is still wet, let it dry then coat it as you did the forge.
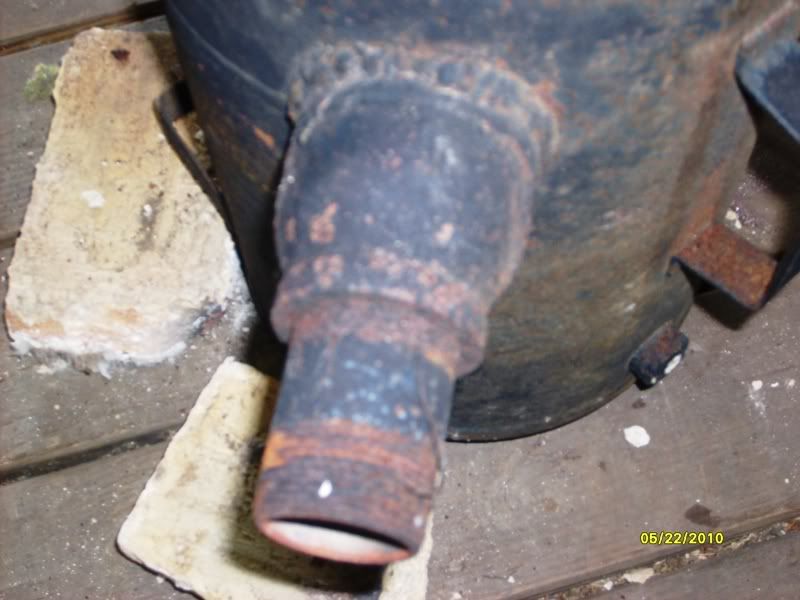
Now i forgot a step in the above post. you need to weld a burner tube to the side of the forge, so your burner can slide down into the forge. As you can see , I used run of the mill pipe fitting. one reducer and a piece of black pipe, you should do this at the start of the build. lol i am BassAkwardIt should be welded on the side at an angle as to creat with the fire a vortex that spirals around the inside of the forge..

That should take care of theforge body, tomorrow evening I will take detailed pictures of the burner, I am useing a blown air burner, so the parts are important to see up close

Offline Mark Anderson

  • Member
  • Posts: 373
  • Mark Anderson Buckie, Scotland
Re: Forge build
« Reply #2 on: June 04, 2010, 04:09:30 pm »
Great stuff! cant wait to see the rest!
Mark
"Mommy some guys just don't know how to shoot REAL bows so they have to buy them, probably at Walmart and they have wheels on them."  Caedmon Anderson (4yrs)

Offline Wolfsongforge

  • Member
  • Posts: 53
  • My name is Kenneth, and I am a bladesmith
Re: Forge build
« Reply #3 on: June 04, 2010, 04:41:03 pm »
ok here is a up close pic of the burner assembly. I use a simple style that some call the claiborne burner. This whole thing is made of 1" black pipe.
The red arrow is pointing at the fan, you can use any small squirrel cage fan that runs up to 300 cfm any higher than that is over kill but try to stay above 50cfm. this is one off the back of a old wood burning buckstove.
The yellow arrow is poingint to a brass ball valve. this is used to control the air flow into the burner.
The pink arrow is pointing to the propane hose. it is a good idea to get a stainless steel wrapped one. you really dont want to drop a piece of hot steel on a rubber one.
The hose runs from the regulator( picture later) into the mixing chamber. basicly a 1" T section with nut welded on for the propane hose to screw intoIt MUST!! be welded air tight. no leaks at all.
The purple arrow is pointgin to the reduceing fitting. it rreduces the pipe down into 3/4" and that is what you stick into the forge body. you could get away with all one inch pipe but you lose compression if you go over 3/4"


this is my regulator it is called a "red hat" regulator. it is rated to 15 psi but I have never gotten over 5 psi.


I will take pic of the whole thing fired up once my wife gets back from yardsaleing! :o
God Bless
Kenneth

Offline John K

  • Member
  • Posts: 1,936
Re: Forge build
« Reply #4 on: June 04, 2010, 05:53:09 pm »
Good stuff, thanks !
The only way to fail is to never start !

Offline Wolfsongforge

  • Member
  • Posts: 53
  • My name is Kenneth, and I am a bladesmith
Re: Forge build
« Reply #5 on: June 06, 2010, 10:45:02 pm »
sorry it took me so long getting pictures of it fired up. could not remember to grab the camera. then my wife would go to her moms or something and  take it with her.lol

ok one thing I forgot to say about this build. use plain pipe DO NOT USE galvinized pipe in any shape form or fashion, it has way bad juju.

here is a pic of the forge, at almost it's highest setting.


and this is what you can do if you got the insulation right. even at 2100 degree's it is still cool to the touch. also ignore the bad mortoring job around the door of the forge, just needed to fill the gap left when I cut the end off the compressor tank.


Well there she is! at least how i go about building a forge. If ya wanna know more bout it just ask. I have built tons of these things.
Also here is the best place to buy forge supplies. great people and the most honest hard working folks in the business. http://www.elliscustomknifeworks.com/

Offline Mark Anderson

  • Member
  • Posts: 373
  • Mark Anderson Buckie, Scotland
Re: Forge build
« Reply #6 on: June 07, 2010, 01:22:29 pm »
Man, this is great. I am bookmarking this build-along!
Mark
"Mommy some guys just don't know how to shoot REAL bows so they have to buy them, probably at Walmart and they have wheels on them."  Caedmon Anderson (4yrs)