Author Topic: Taking Photos tip.  (Read 1594 times)

0 Members and 1 Guest are viewing this topic.

Offline Prarie Bowyer

  • Member
  • Posts: 1,599
Taking Photos tip.
« on: August 17, 2011, 01:18:46 pm »
Moderators~ fell free to move this post to a more applicapable location if need be.

I saw a comment in another post about taking photos and thought I could possibly help some here.  The photos below are obviously NOT bow related.  But the principle is the same for bows, arrows, and points.  I was struggling to get decent photos consistantly of my other woodwork for web upload so I saught help from a friends spouse who was an artistic photographer with juried exibits.  Turns out it's not hard.

she suggested a "photo box".  A box with top and one side cut away covered in some neutral fabric.  Then a movable strong sidelight and a tripod.  My stuff varies alot so putting time into  an actual box wasn't practical.  What I do now is hang a plain fabric from the wall that drapes over a small table.  I use a dark fabric for light to medium colored items and light fabric for dark items.  Raid the discount bin at the local fabric store.  No patterns, stripes or anything.  You want to focus attention on the item.

I slip some sort of support or pedistal under the fabric and use a clamp on side light that is above and to the side of the item.  Set the camera on a tripod at the right angle.  I use a digital camera so I can take allot of photos and delete the bad ones.  Then I begin moving the side light and the object while taking photos to find the best lighting angle.  Delete all but the best ones.

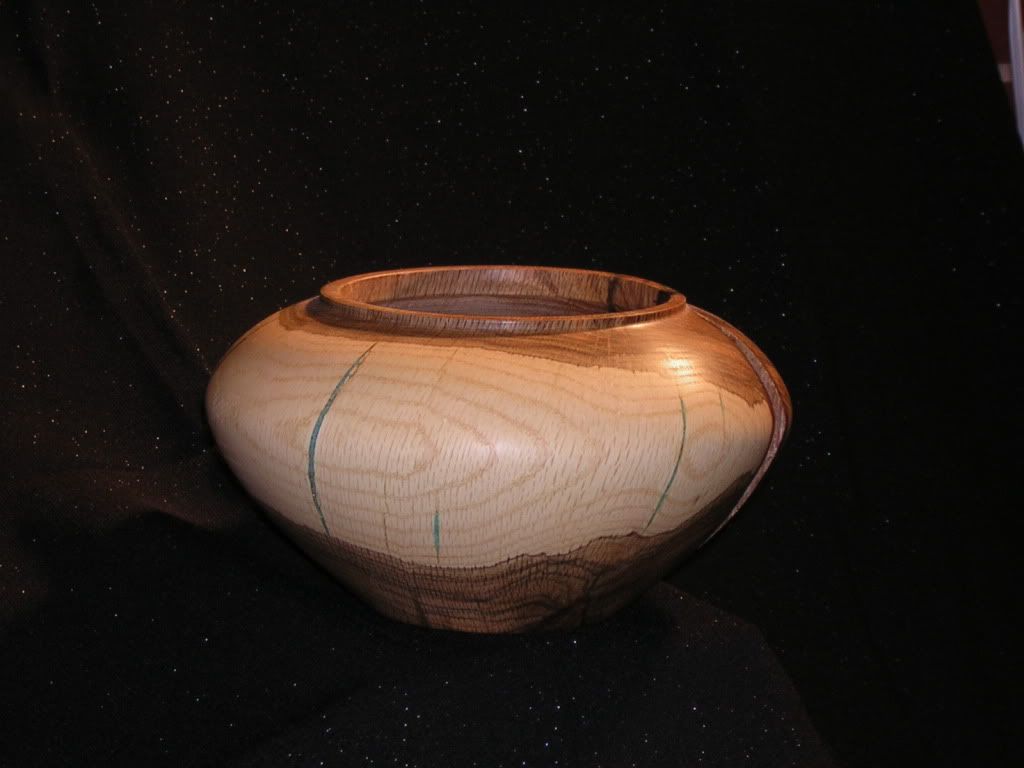
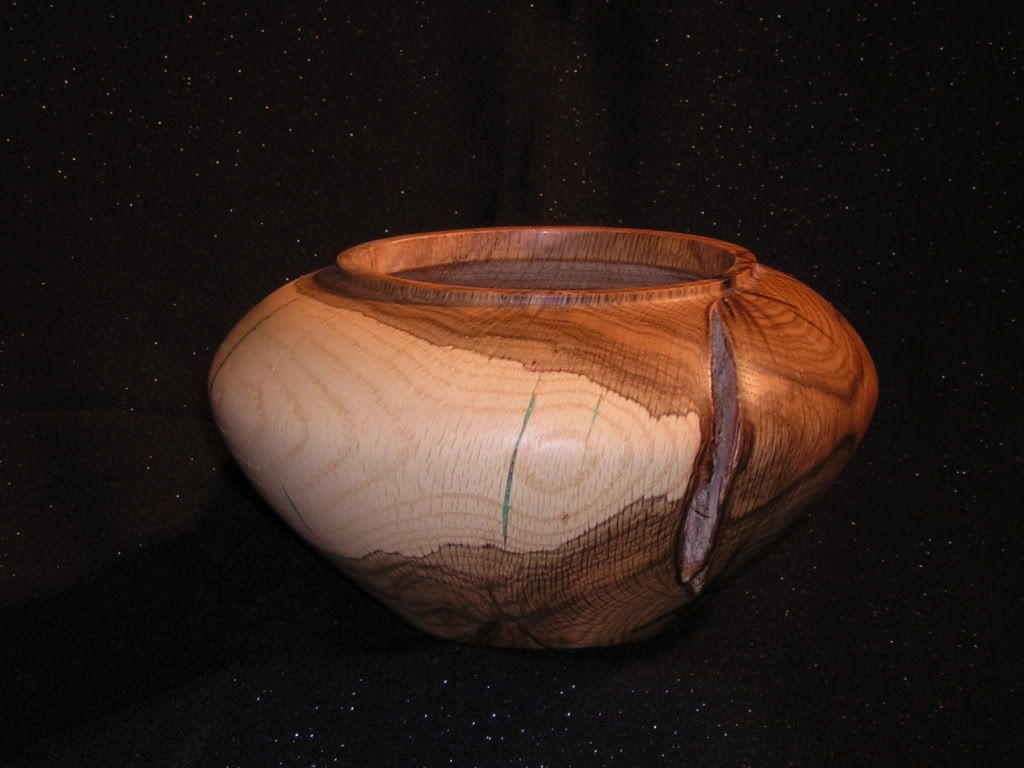
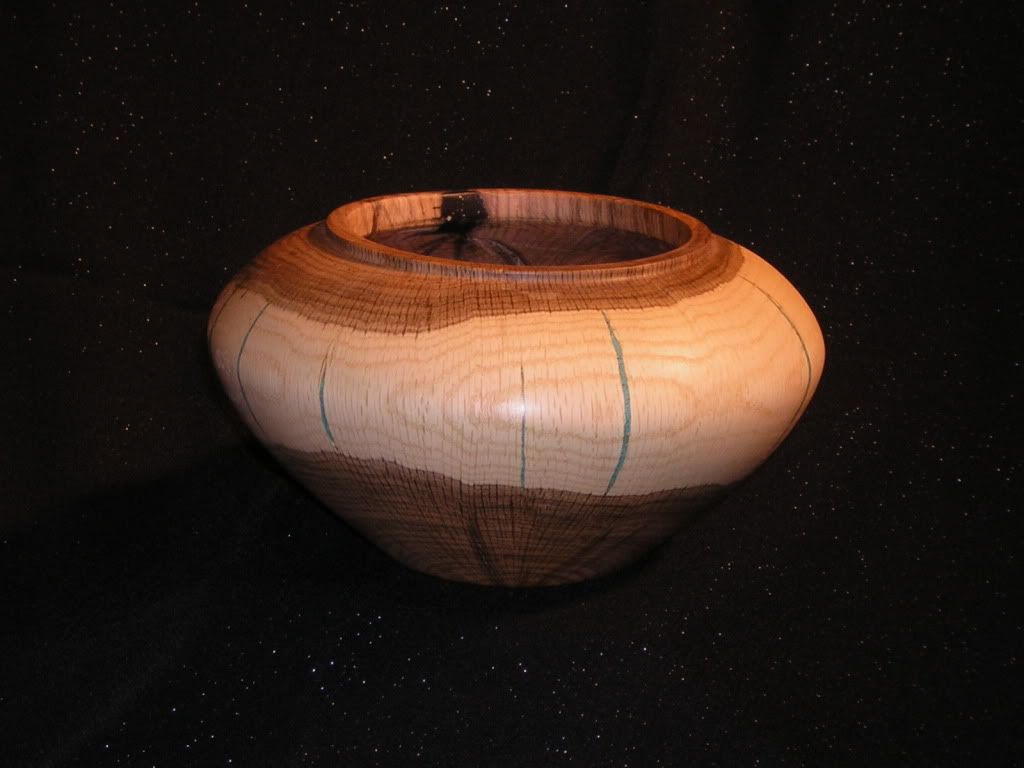
Natual lighting works well also but I like it NOT to be right overhead.  Below is an example of a bowl I turned and use the photo box method.
Once I found my lighting and camera angle all I had to do is rotate the bowl.  The station takes 3 min to set up and folds up to store away easily.


« Last Edit: August 17, 2011, 04:20:49 pm by Prarie Bowyer »

Offline Pappy

  • Global Moderator
  • Member
  • Posts: 31,766
  • if you have to ask you wouldn't understand ,Tenn.
Re: Taking Photos tip.
« Reply #1 on: August 17, 2011, 02:09:51 pm »
Very good info,I need all the help I can get in this regard. I thought it might fit better for all over here.  Nappers aren't the only ones that need help with the pictures. :) :)
   Pappy
Clarksville,Tennessee
TwinOaks Bowhunters
Life is Good

Offline Matt S.

  • Member
  • Posts: 380
Re: Taking Photos tip.
« Reply #2 on: August 17, 2011, 06:25:37 pm »
We had to do this kind of stuff in college (I was an art major).

The 2 problems I have when trying to photograph bows are:
1) all I have now is an old, cheap digital camera
2) a bow is so long and skinny it is hard to capture the entire thing without it ending up looking like a tiny stick lost in a sea of background image. It's just so hard (or dare I say impossible) to truly capture the fine detail of the wood and the subtle curves of the limbs while still getting a good picture that shows the overall bow.

Hmmm, maybe a good how-to article needs to be explored here...

Offline Prarie Bowyer

  • Member
  • Posts: 1,599
Re: Taking Photos tip.
« Reply #3 on: August 18, 2011, 12:30:05 pm »
True, a bow is more problematic.  But it can be done.  The principle is the same.  For detail spots you'll need a closeup of the area.

Offline Del the cat

  • Member
  • Posts: 8,291
    • Derek Hutchison Native Wood Self Bows
Re: Taking Photos tip.
« Reply #4 on: August 20, 2011, 07:01:44 am »
Bows are long and skinny... that's why it's easier to photograph the broken ones >:(.
Useful thread, my digital camera hates grass a background for some reason, and ends up bleaching out the bow.
My old real cheapo/takeonholiday/don't care if I loose it digital had a real easy white level/exposure adjustment. The better camera is too damn complicated for it's own good.
The people who write the software have made the mistage of trying to make 'em feel like a old SLR instead of thinking what the user actually wants to adjust. Classic mistake of design >:( . I don't want to adjust a virtual aperture... I want to adjust depth of focus or brightness or exposure time all independant of eachother...(Sorry I'll get off my hoby horse).
To be fair my digital is a gereration or two out of date, maybe the new ones are better.
Del
Health warning, these posts may contain traces of nut.

Offline Prarie Bowyer

  • Member
  • Posts: 1,599
Re: Taking Photos tip.
« Reply #5 on: August 20, 2011, 05:00:24 pm »
A generation or two? . . . so it's like 3 weeks old?  We picked up a Nikon and with in 6 months the software wasn't supported anymore.