Update for those interested (in watching a 130lb bow blow up, no doubt! Car crash TV!)
I've glued the crack as best as possible (resintite glue wedged in as far as possible, and runny superglue along the crack once the resin glue had dried fully)
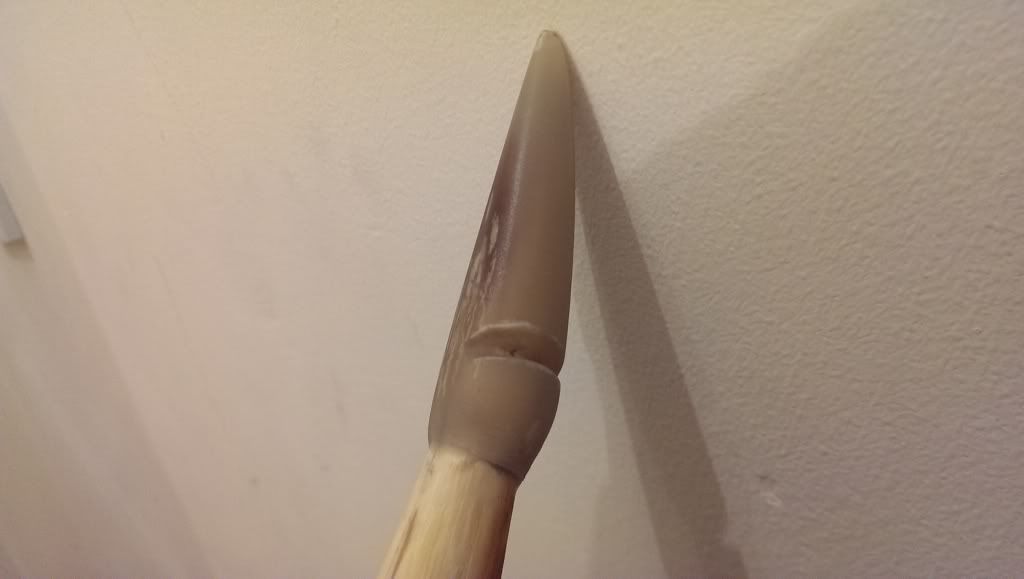
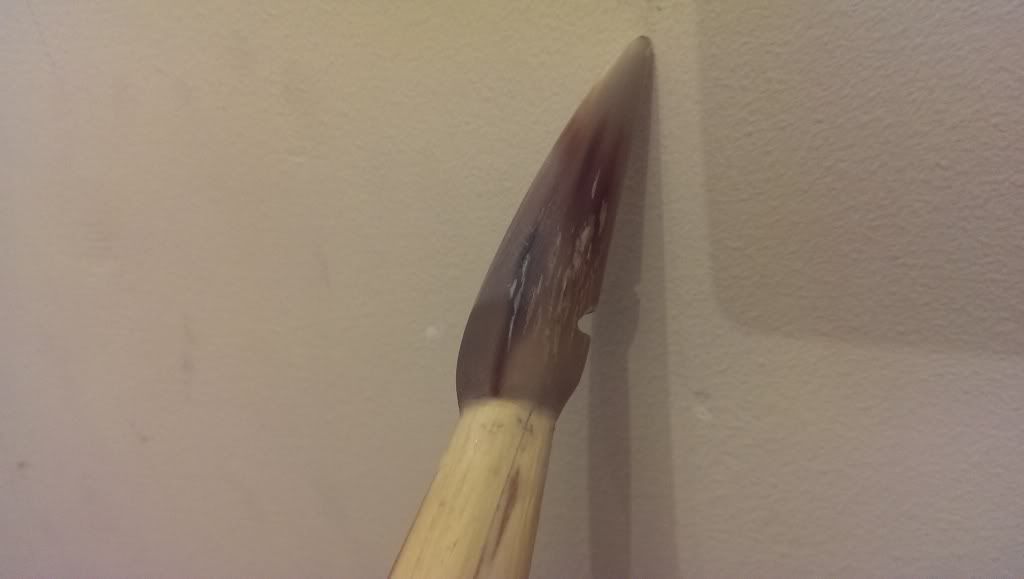
I've also chopped the tips down to where the string nocks were, and fitted cow horn nocks. I went true traditional and used side-nocks, as this is supposed to be a Mary Rose replica! The last time I used side nocks they split fairly quickly, but that was with Buffalo horn and not cow horn - hopefully these will last a bit longer!
Anyway, here's some fruity side nock pics, and you should be able to see where the crack runs. I'm hoping beyond hope that the compound structure of wood, epoxy and horn will keep the crack solid at the tip, and the glue will stop it opening lower down, but we'll see what happens... gulp!
If it was easy... everybody would do it, right?

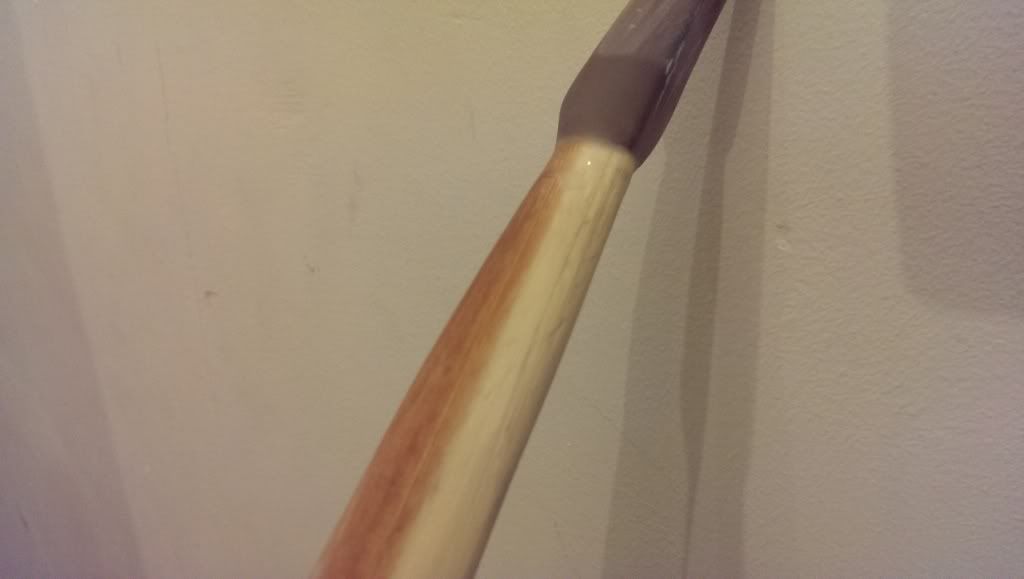
Here you can see the crack running down right in the middle of the sapwood

And here the crack running down the back of the bow is visible. I'm not too worried about the longitudinal crack, it's the other one that will have me wearing an extra pair of underwear when it goes back on the tiller...

I'm so tempted to polish, sand and oil the bow at this stage and hang it on the wall. It's gorgeous at the moment, easily the nicest looking bow I've ever made. I hate the thought that if I try and finish tillering it the bow will break on me.
