Author Topic: Guthook build-a-long  (Read 69943 times)

0 Members and 1 Guest are viewing this topic.

Offline madcrow

  • Member
  • Posts: 1,531
  • Swift, Silent, and covered in wood shavings.
Re: Guthook build-a-long
« Reply #15 on: January 08, 2008, 12:43:38 am »
Dana, you are doing a fine job.  I like the shape of the bottom blade the best.  They make easy to handle skinners.

Offline madcrow

  • Member
  • Posts: 1,531
  • Swift, Silent, and covered in wood shavings.
Re: Guthook build-a-long
« Reply #16 on: January 08, 2008, 01:11:59 am »
I finally made it back.  I chose to use bloodwood for the handles on these knives.  For the sake of time, I am going to concentrate on just one knife for now.  I can finish the other one after the build along.  I rip off a couple pieces that are just wide enough to feel comfortable on the knife and trace the pattern for the handle onto the wood.  Make sure the sides that touch the metal are perfectly flat so you get the best fit.


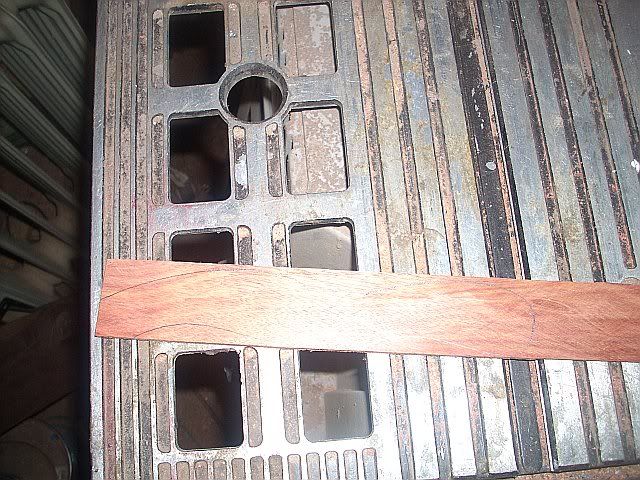
Then I run the piece of wood through the bandsaw and cut them about 1/16" larger than the handle pattern. 


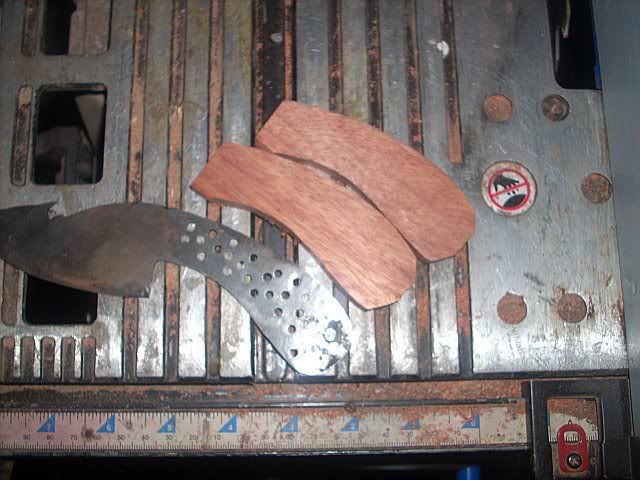
Once I get them lined up with the handle, I mark the holes for the handles on the wood with a sharpie marker and throw a piece of tape around the wood to hold it together while drilling the holes.


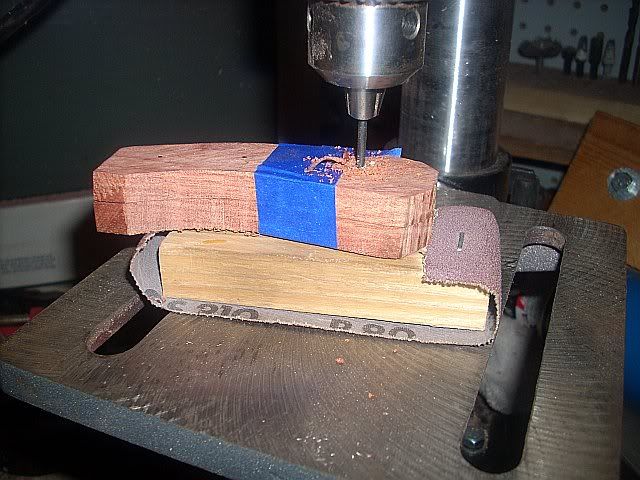
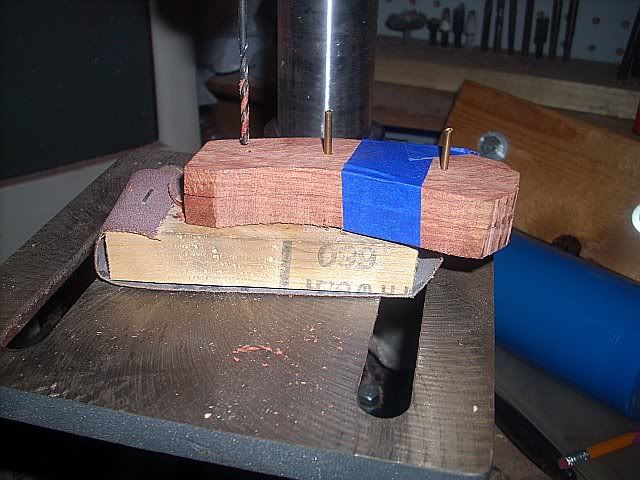
To help keep them from slipping around and getting the holes out of alignment, I drill one hole and add a pin, then drill the second hole and add the second pin, and finally the third.


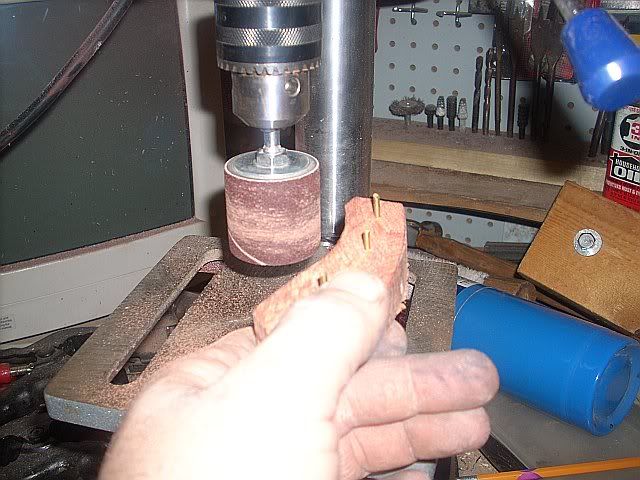
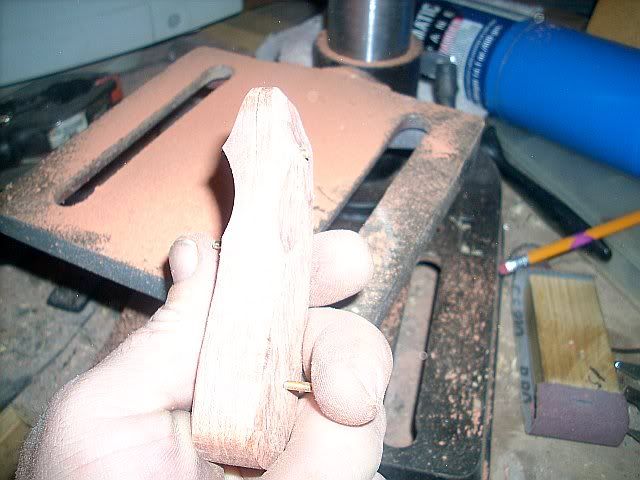
Now I switch to a sanding drum and remove the tool marks and round the edges.  While I am at it, I sand in a couple of finger grooves at the front.


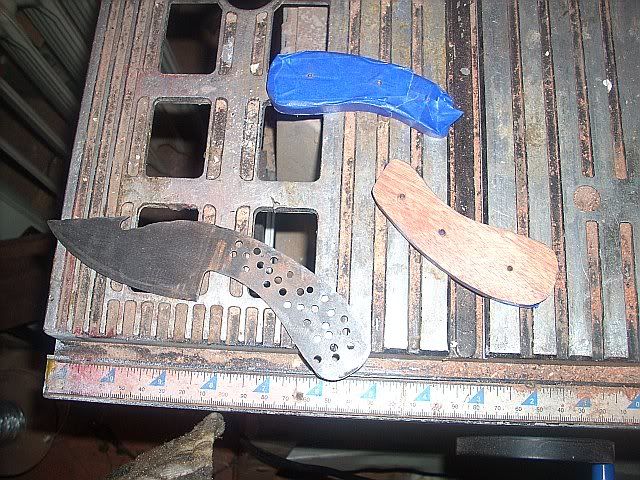
The next step is to clean up the blade some and tape the handles.  I cover the handles with tape except for where the adhesive will be.  While I am taping, I press down where the pins will be inserted.  That makes it easier to find the holes and insert the pins while everything is covered with epoxy.


This is the first time I am using this epoxy, so I don't know how long it will take to dry.  It said industrial grade heavy duty, so it should hold everything together.  I mix it on old plastic lids.  When the leftover is dry, it peels right off and the lid can be reused.


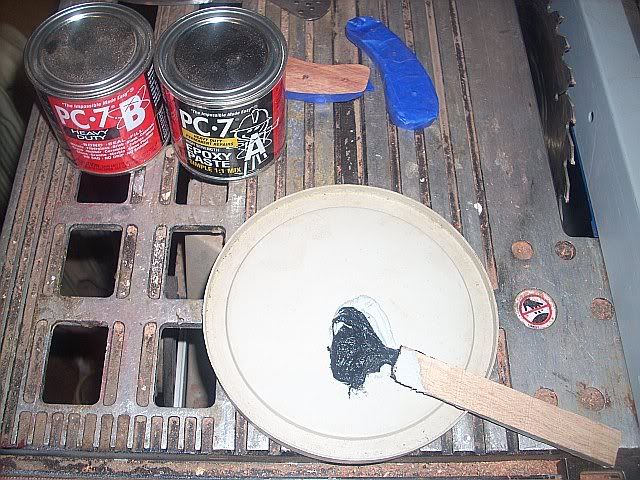
The epoxy said that no clamping was need, but I did it anyway.  I wanted a thin glue line.  With the pins inserted and the clamps on, I had some left over so I decided to finish a couple broadheads that I wanted to try.


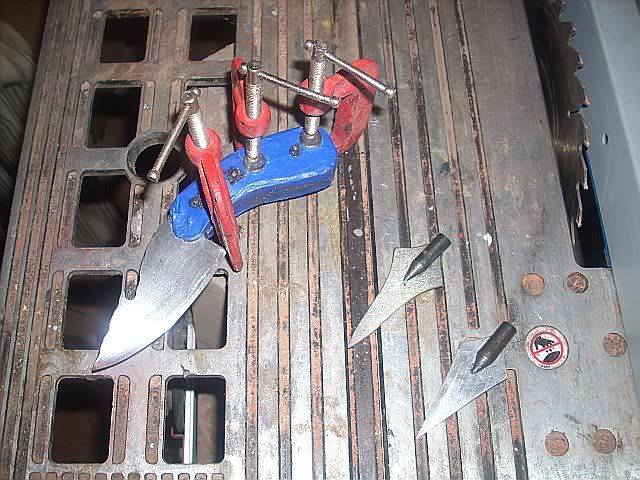
I have a few that are about ready for some heandles.  It looks like I have my work cut out for me.


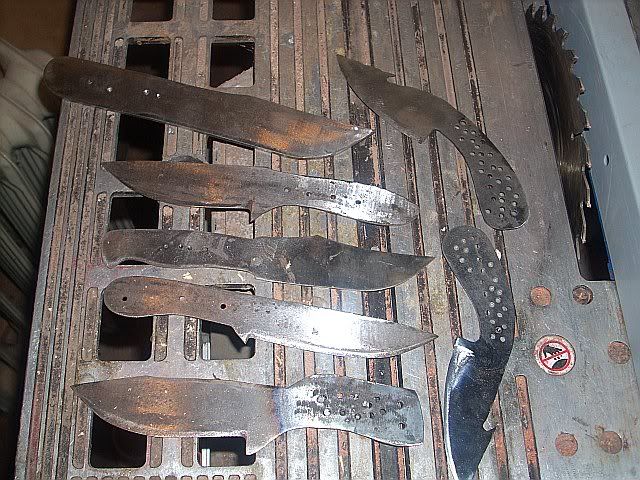
As soon as the epoxy is dry, I will be ready for the final shaping and clean up.

Offline cowboy

  • Member
  • Posts: 7,035
  • Paul Wolfe. Springtown, TX
Re: Guthook build-a-long
« Reply #17 on: January 08, 2008, 10:26:38 am »
You about have me hooked into giving this a go :). like I need more projects - I'm getting really interested, carry on ;D.
When you come upon a track or trail you do not know, follow it to the point of knowing.

Offline madcrow

  • Member
  • Posts: 1,531
  • Swift, Silent, and covered in wood shavings.
Re: Guthook build-a-long
« Reply #18 on: January 10, 2008, 10:06:32 pm »
I appreciate your patience while I do this.  Now, lets' wrap this puppy up. 

This is one of the reasons I wrap the handls with tape.  It is alot easier to clean up.


When it comes to the pins, I do not peen them.  Most of the epoxy I use has atleast 2500 lb. per square inch holding strength, so I cut the pins close with a dremel tool and grind them flush with the sides of the knife.  They can be ground all the way flush, but take your time.  The brass gets hot really and can melt the epoxy and come loose.


I use the sanding disk to smooth the handle out and take off the left over epoxy.  Then I switch to a cloth buffer with black buffing compound to take out most of the scratches, white for the initial shine and brown to really shine it up.  I put some tape around the front of the handles to keep the compound from packing into the wood.


I use a homemade leather buffing wheel and the brown compound to shine the edge and to hone down the last 1/164th of an inch.  It brings out a razor sharp edge.


I retape the blade to add the finish to the handles.  I like to use tung oil for this and if it dries on the blade it is a pain to remove without scratching the blade.


After three days and three layers of tung oil, I do the last step in this.  I use a large chainsaw file to sharpen the guthook.  Since the blade is thin, I only sharpen one side.  It looks like somebody chnaged the settings on the camera so this pic is in black and white.


Guess what?  This one is done, finally.  Since I will be using this knife on a regular basis, I did not take this one to a mirror finish.  I knew I would be cussing when I put the first scratch on it.


I am working on a hidden tang antler handle and a hidden tand wood handle build alongs as well.  I promise that they will be written and completed before they are posted so it will not be a long drawn out process.


Offline DanaM

  • Member
  • Posts: 9,211
Re: Guthook build-a-long
« Reply #19 on: January 11, 2008, 06:29:22 am »
Thanks for taking the time to do this build along, I know I enjoyed
and learned a few things from it. Looking forward to next ones.
"Prosperity is a way of living and thinking, and not just money or things. Poverty is a way of living and thinking, and not just a lack of money or things."

Manistique, MI

Offline Pappy

  • Global Moderator
  • Member
  • Posts: 31,764
  • if you have to ask you wouldn't understand ,Tenn.
Re: Guthook build-a-long
« Reply #20 on: January 11, 2008, 07:17:00 am »
Sweet,thanks for sharing,like Daman said I learned a few[a lot] of things.Very
nice job. :)
   Pappy
Clarksville,Tennessee
TwinOaks Bowhunters
Life is Good

Offline cowboy

  • Member
  • Posts: 7,035
  • Paul Wolfe. Springtown, TX
Re: Guthook build-a-long
« Reply #21 on: January 13, 2008, 01:05:11 pm »
Good job! I'll be getting started soon :).
When you come upon a track or trail you do not know, follow it to the point of knowing.

Offline koan

  • Member
  • Posts: 2,393
  • Brian D. Mo.
Re: Guthook build-a-long
« Reply #22 on: January 17, 2008, 05:15:43 pm »
Thanks, this really answered alot of ????'s I had....Brian
When you complement a lady on her dress.....make sure she is the one wearing it.....

Kronnkk

  • Guest
Re: Guthook build-a-long
« Reply #23 on: April 06, 2008, 08:30:05 pm »
thank you for this build a long its great :o

radius

  • Guest
Re: Guthook build-a-long
« Reply #24 on: April 06, 2008, 09:34:07 pm »
Thank you for the show!  I think I've got an old saw blade around here somewhere...

Offline ber643

  • Member
  • Posts: 530
    • Bernie Dunn's Home Page
Re: Guthook build-a-long
« Reply #25 on: April 09, 2008, 09:54:30 am »
Excellent teut and great job. So far I'm just assembling knives using finised blades but you never know. Are your buffing wheels on your drill press - or did you rotate the pictures? I also will be looking forward to the hidden tang teuts. Thank you, madcrow.
"Hunters Are People Too" (My website Premise)
Bernie Dunn
Coastal NC

Offline madcrow

  • Member
  • Posts: 1,531
  • Swift, Silent, and covered in wood shavings.
Re: Guthook build-a-long
« Reply #26 on: April 09, 2008, 03:38:02 pm »
They are on the drill press, but can be used with a regular drill.  I used to lock it in a vise, then my wife bought me the press for Christmas.  That thing comes in handy.

Offline ber643

  • Member
  • Posts: 530
    • Bernie Dunn's Home Page
Re: Guthook build-a-long
« Reply #27 on: April 09, 2008, 10:32:05 pm »
I see, thank you (nice, thoughtful wife  :)).
« Last Edit: April 10, 2008, 08:53:06 pm by ber643 »
"Hunters Are People Too" (My website Premise)
Bernie Dunn
Coastal NC

Offline recurve shooter

  • Member
  • Posts: 2,325
Re: Guthook build-a-long
« Reply #28 on: April 20, 2008, 07:19:30 pm »
.....WOW! ;D
lets just shoot it

bow kid44

  • Guest
Re: Guthook build-a-long
« Reply #29 on: May 03, 2008, 10:37:52 pm »
NICE!!! I allways wanted to know how to make a knife!!!
nice pics!


p.s. why did you put a pic of a cat in it?