Hi again everyone, so I found some time during the last weeks to do some work on the bow.. Man! becoming a family father has taught me how spoiled for time I used to be...
So, naturally I ended up taking a bit of everybody advice, and therefore also in a way nobody's, depending on how you look at it. I started by straightening the deflex out with dry heat i a couple of sessions, and also added a tiny amount of reflex in the levers. Some of it straightened out afterwards, but it's stayed straight, and has a slight curve to the levers that looks elegant, so I'm pretty happy with it:

Then I dug out the knots, which turned out much easier than I expected, I just dug at them with an old awl, and the whole thing popped out basically by itself. Cleaned it up with some rolled up sand paper.
Now I don't really like the look of those sawdust plugs, so I tried a combination approach: I mixed up some epoxy with a bit of powdered charcoal, which I put at one end of the knot "tunnels", and let that cure. Then I mixed some epoxy and yew dust like Del said and put that in the middle, and then covered that up with more epoxy and charcoal. I don't really know whether it was worth the extra effort, I guess the most strain will be at the belly surface, but we'll see whether it'll hold together. At least it looks pretty. Some of it will scrape away during tillering though, so...

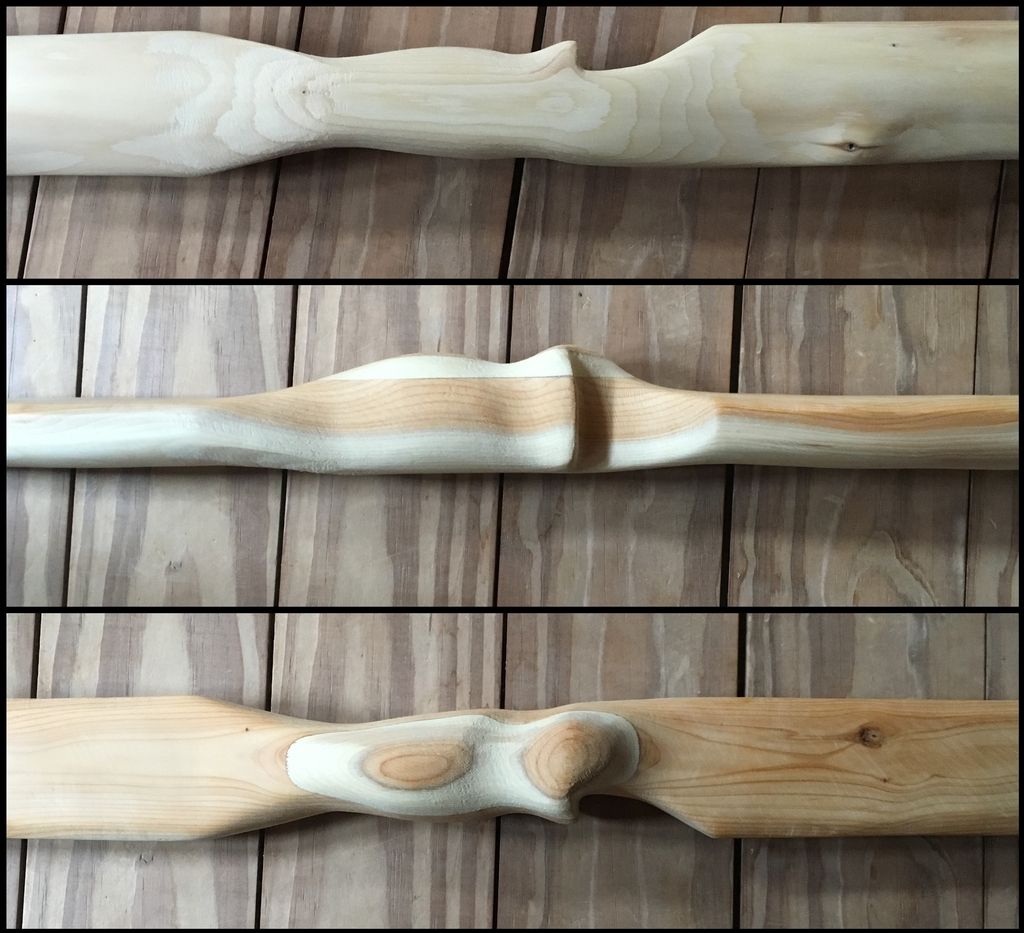
So know I'm starting to floor tiller a little; It's just about starting to bend slightly. I'll probably get it on the tree as soon as possible this time, as I don't really feel that I have a good feeling for floor tillering, and I'm a little paranoid about going underweight on this one. Got the handle shaped yesterday; my first bow had a pretty simple bulbous handle, but this time I wanted to try something elaborate. I got inspired by some bows made by a certain administrator on this site. Epoxied a little riser on from some scrap yew. The sapwood was the only bit wide enough, but it looks neat I think, and I'll probably ad some sort of wrap. Glue line's not perfect either, but it is sort of hard to get it perfectly flat with only sand paper...
Thanks for all the help so far, I hope I'll be able to post some tillering pics soon;)
/Nicolas


