Author Topic: Wild Rose Bow  (Read 3097 times)

0 Members and 1 Guest are viewing this topic.

Offline markinengland

  • Member
  • Posts: 698
Wild Rose Bow
« on: January 01, 2010, 02:26:23 pm »
I have started work on a rose bow, wild rose rather than rosewood.

The stave is about 70 inches long and has a gradual continous reflex of about 4 inches. As it has about 1/2 inch diameter of pith running down the centre and an oval cross section I decided to cut it out down the centre of the pith. 4 inch handle left full depth with 2 inch fades to the current limb which is cut to half the original depth. A bit of floor tillering suggestes that there is not a lot of wood to come off to the finish the bow. Asit is quite extremely crowned I think I will back it with silk for safety sake. The limb is basically about 1.25 inches wide and now 3/4 inches deep with a decided U shape left down the centre by the pith. It was slightly twisted to begin with but to make matters more interesting it has warped sideways as well. Should be an interesting project.

I'll try to post some pics tomorrow but I'd appreciate some advice on heat treating. I want to use my heat gun rather than raw heat from a fire or stove which I have toyed with in the past.

My questions are:

Heat treat now to bring the roughed out limbs into line OR later once material has been removed to get the limbs bending better in floor tillering?

Heat just a bit now just to get things in line and again later to temper OR go the whole hog and heat to straighten and temper in one go?

What colour of heat treatment to go for? Just enough to see a change and wood to go elastic for bending OR deeper colour?

Finally anyone ever heat treated a bow limb that basically looks like a U with a U shape cut out of it by the pith, like a piece of rainwater guttering? Anyone ever made one whether heat treated or not?

Thanks,

Offline dragonman

  • Member
  • Posts: 1,142
    • virabows.co.uk
Re: Wild Rose Bow
« Reply #1 on: January 01, 2010, 02:52:59 pm »
I would love to help but have no experience of these problems, but the best of luck, I'll bet it will be a good bow if you can pull it off, hopefully you'll get some more helpfull posts soon
'expansion and compression'.. the secret of life is to balance these two opposing forces.......

Offline George Tsoukalas

  • Member
  • Posts: 9,425
    • Traditional and Primitive Archers
Re: Wild Rose Bow
« Reply #2 on: January 01, 2010, 11:12:59 pm »
Don't use direct heat unless it is dry. If it is still green use steam. Can you show pictures? Jawge
Set Happens!
If you ain't breakin' you ain't makin!

Offline zenmonkeyman

  • Member
  • Posts: 482
Re: Wild Rose Bow
« Reply #3 on: January 02, 2010, 02:30:57 am »
I was just following an old thread in which Keenan built a lilac bow with a pith channel near the fades, but the channel was probably only about 3/16".

http://www.primitivearcher.com/smf/index.php/topic,4699.0.html
If the ppl ever allow private banks to control their currency, 1st by inflation, then by deflation, the banks & corporations that will grow up around (these banks) will deprive the ppl of all property until their children wake up homeless on the continent their fathers conquered. Thomas Jefferson

Offline dragonman

  • Member
  • Posts: 1,142
    • virabows.co.uk
Re: Wild Rose Bow
« Reply #4 on: January 02, 2010, 03:10:52 pm »
yeh, pictures would help!!
'expansion and compression'.. the secret of life is to balance these two opposing forces.......

Offline markinengland

  • Member
  • Posts: 698
Re: Wild Rose Bow
« Reply #5 on: January 02, 2010, 06:00:22 pm »
Dragonman,

I think it will be an intersting bow when it is finished and if it doesn't break. Some pictures follow.


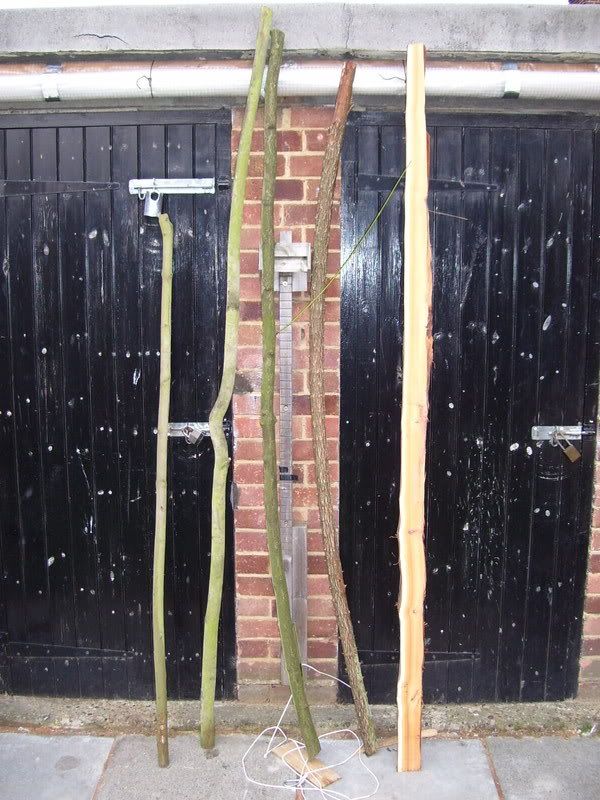
The rose stave is the one second from the right. Taken 2 years ago I think just after cutting. The part that had been chewed on by the rabbits split badly but the rest was fine once it was fully dry and the bark shaved off.

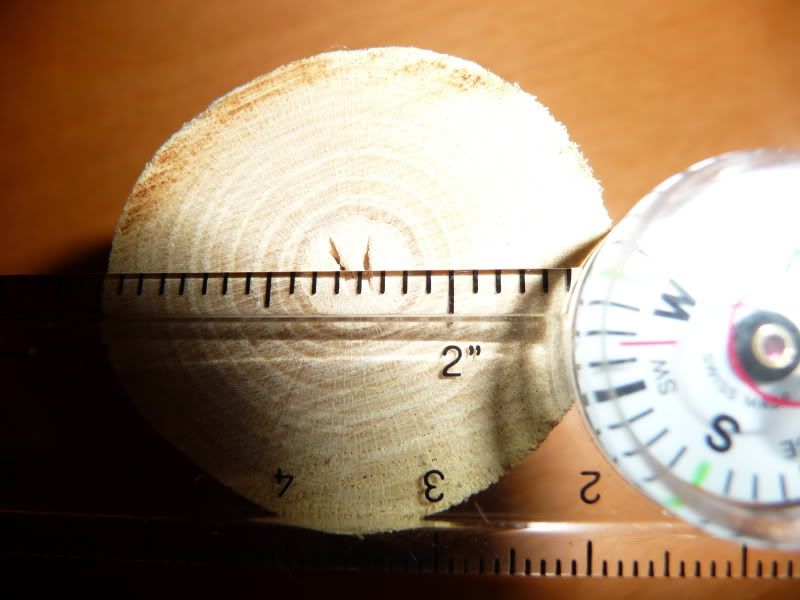
This is a cross section from one of the end pieces trimmed off. The stave is reflexed so that I had to cut across the thin side making a basic limb depth that is deeper than it is wide, A deeply crowned back and a belly with a large pith taken out of it.


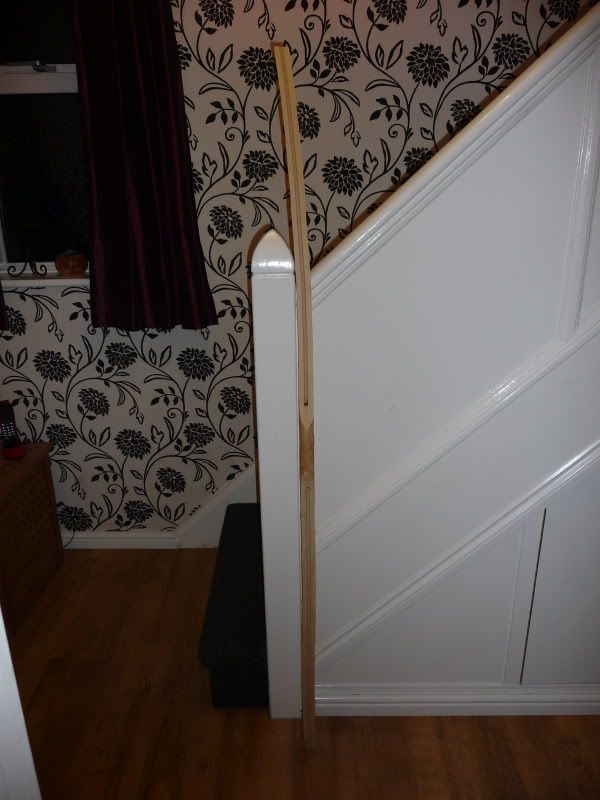
This gives a view of the back of the stave taken leaning up against my stairs. It's a bit hard to see the twist and the bend to the right in the upper limb.


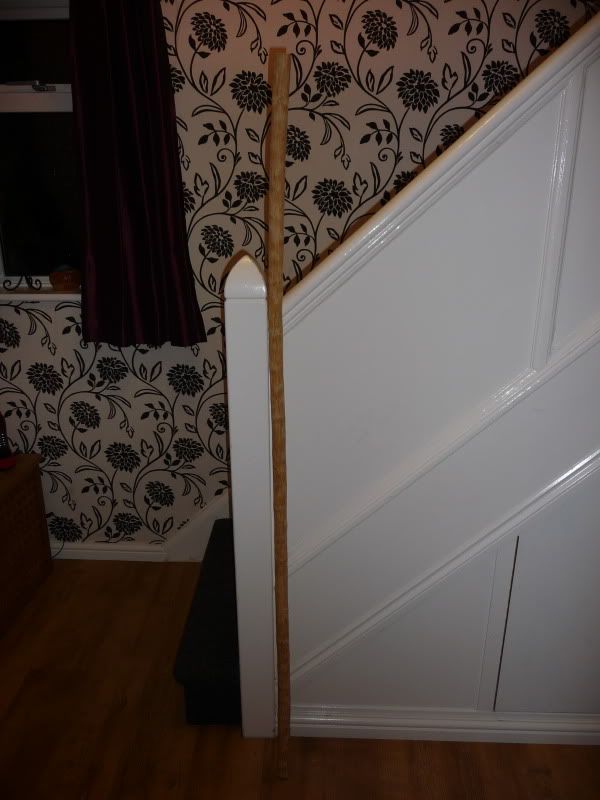
This is a view from the side.


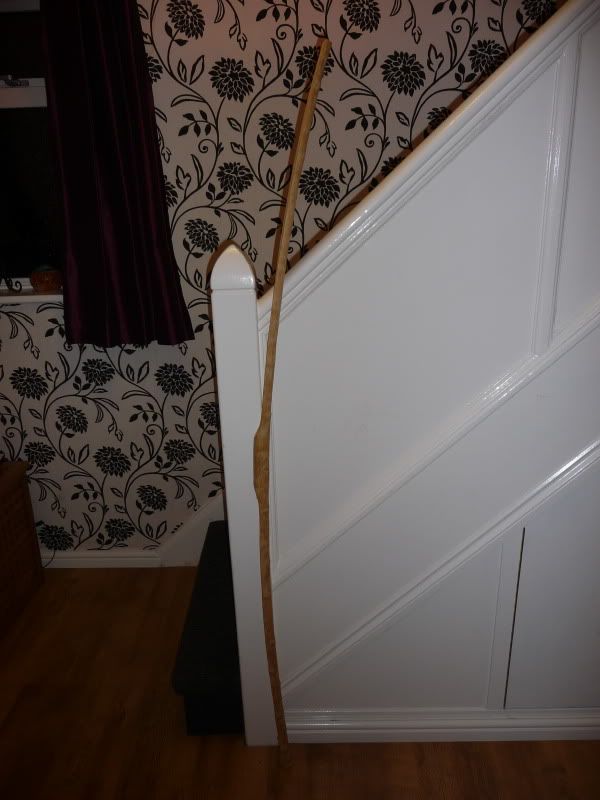
This is a view from the belly which shows the bend and twist better.


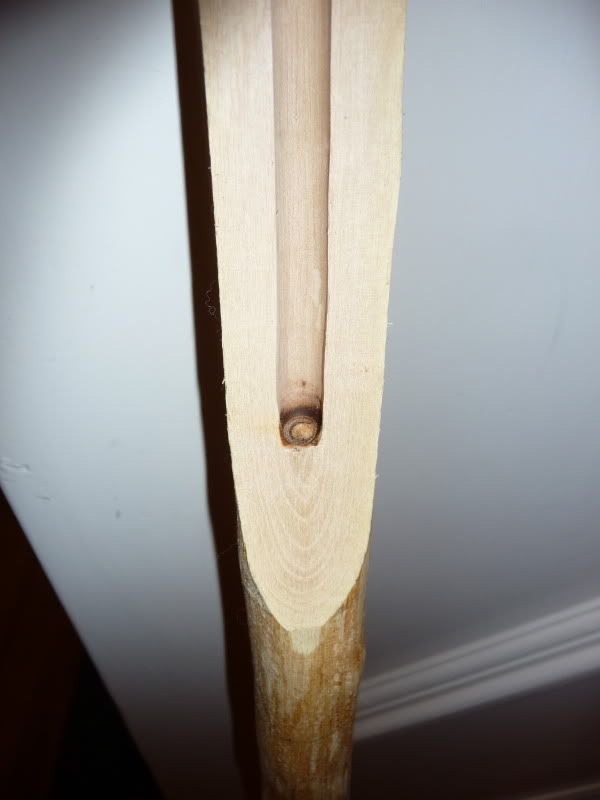
Here is a view of the belly at the handle fades showing the pith going through the middle. If I can I'll hollow that out. I'll thin the width of handle a bit later if I can.


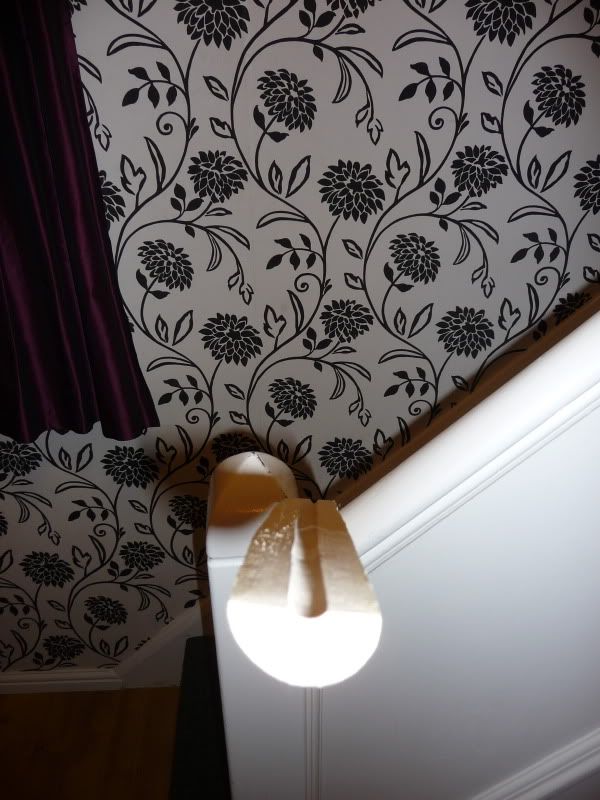
A view of the end of the limb. The limbs have been thinned a bit in depth but some of the pith section still remains.


That all the pics I have so far.

George, the staveis dry. The rose split very badly when drying where not protected by the bark so I wouldnt want to chance getting it wet.

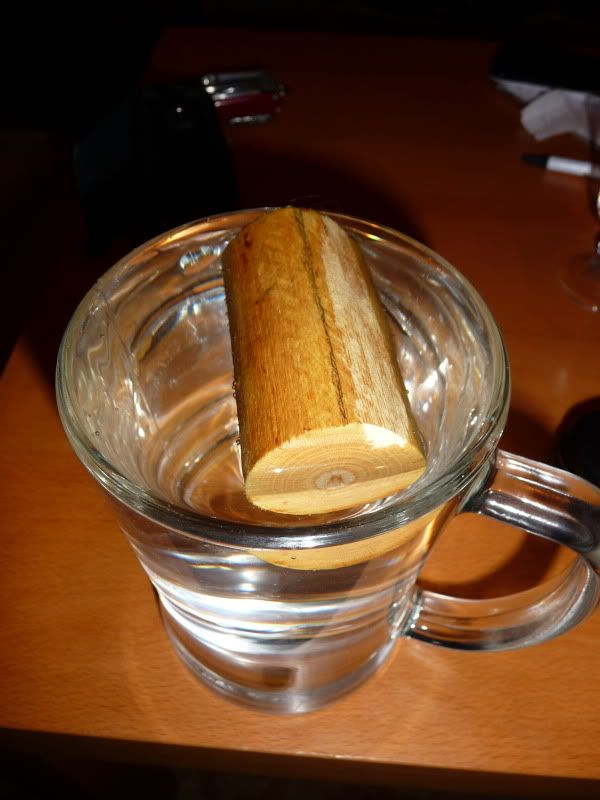
I did a float test on the section I had cut off the end. Will post a pic. The wood looks pretty dense with about 80% underwater. If the tension strength is good enough it should make a fine bow.


Mark in England

« Last Edit: January 02, 2010, 06:51:34 pm by markinengland »